
Last updated November 2, 2026
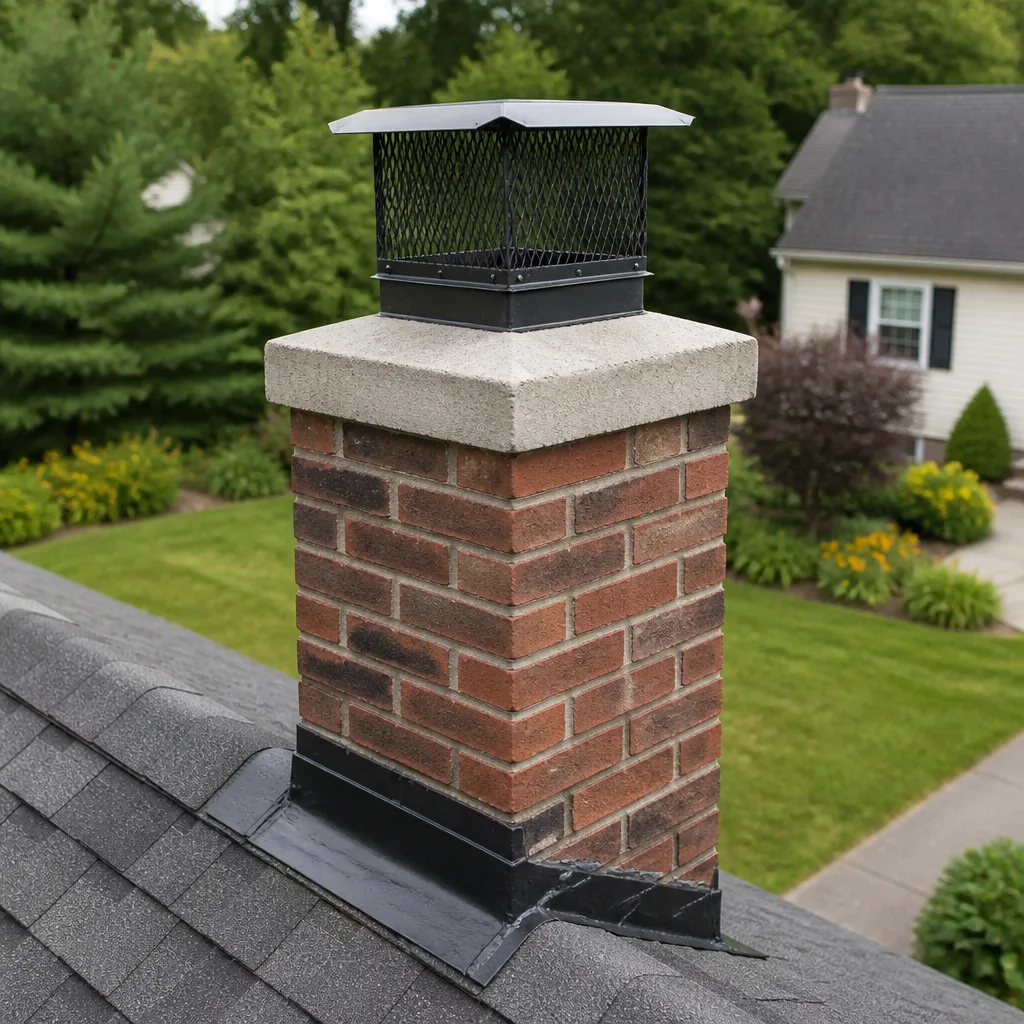 Sweep & inspection
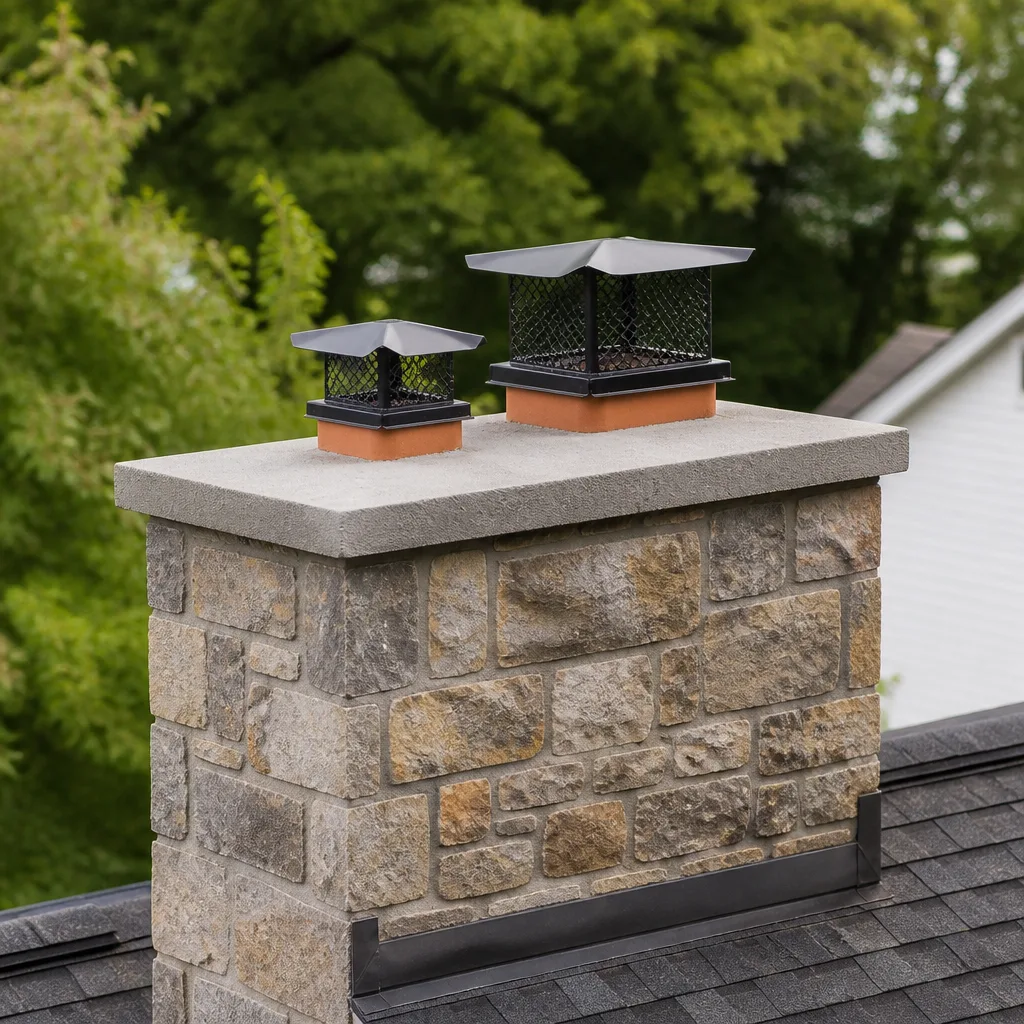 Caps & crowns
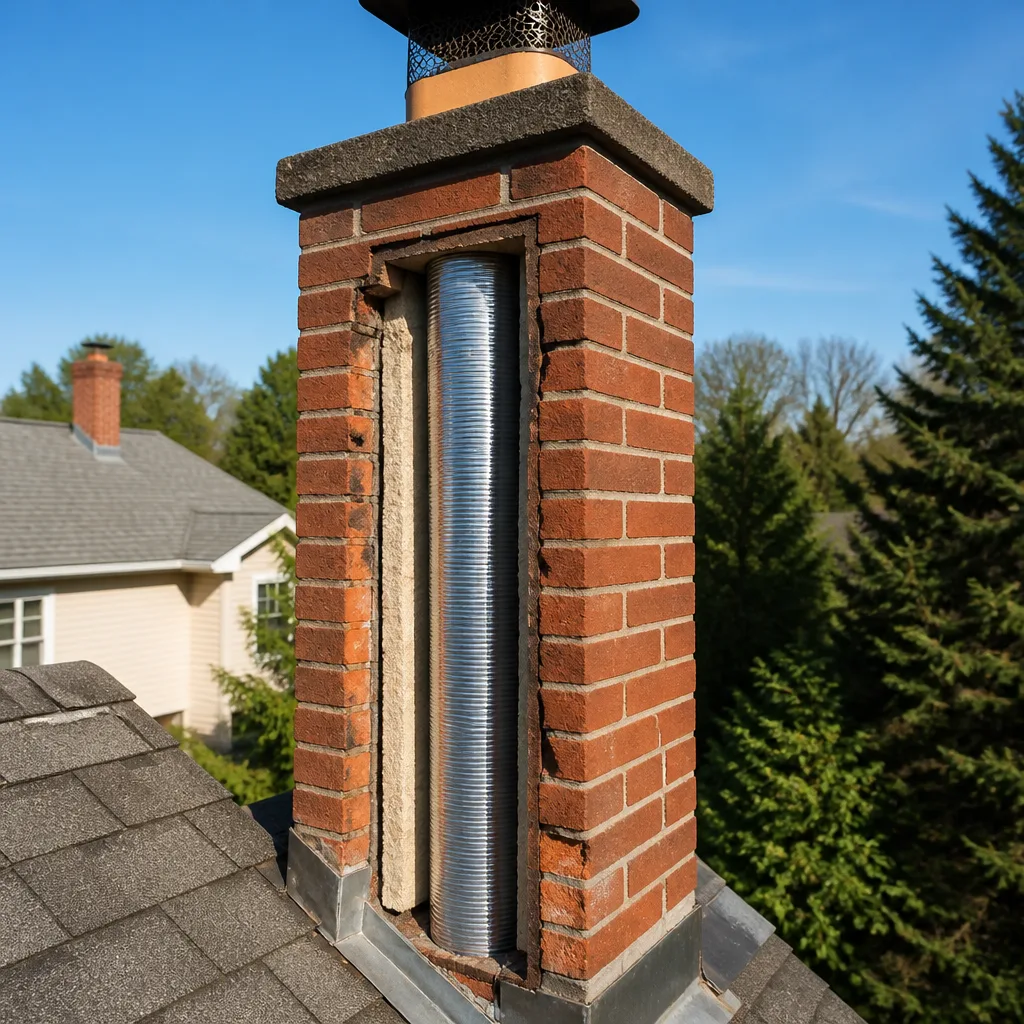 Flue relining
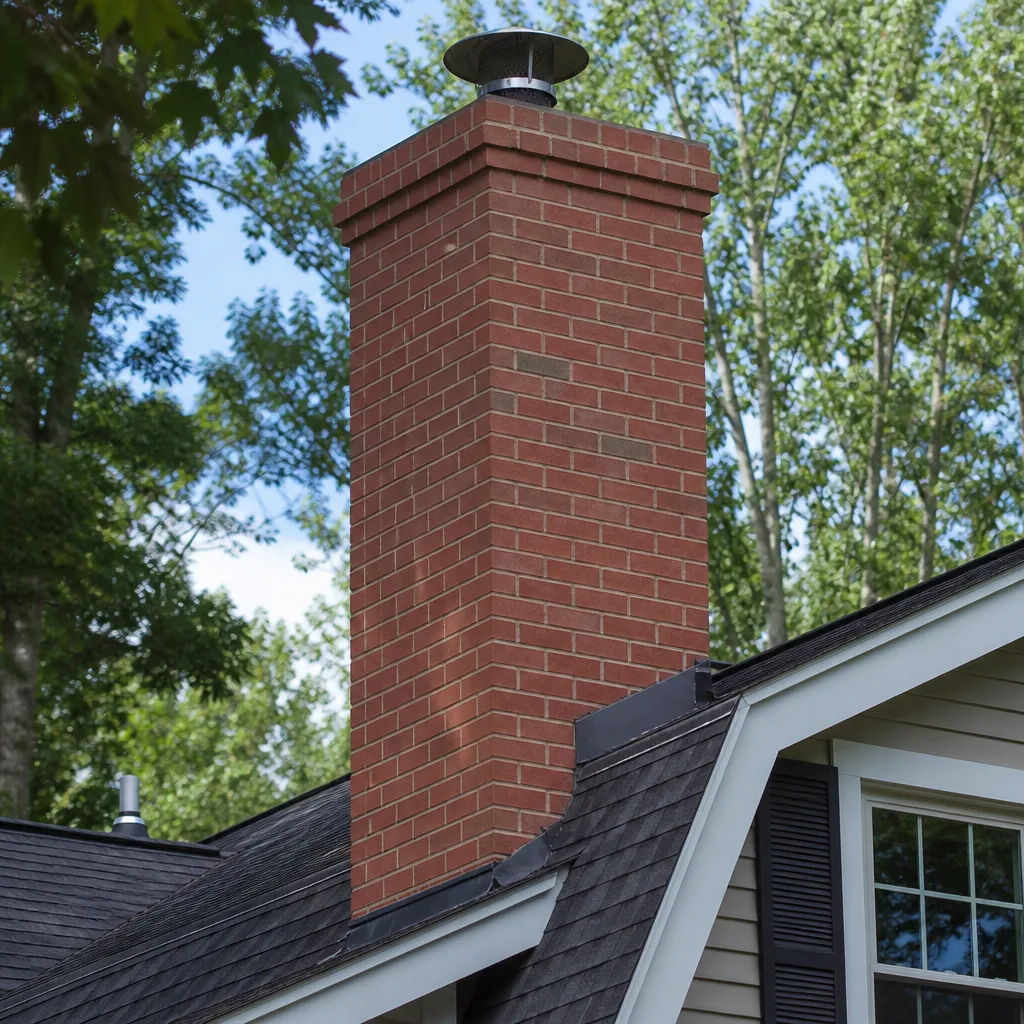 Masonry repair
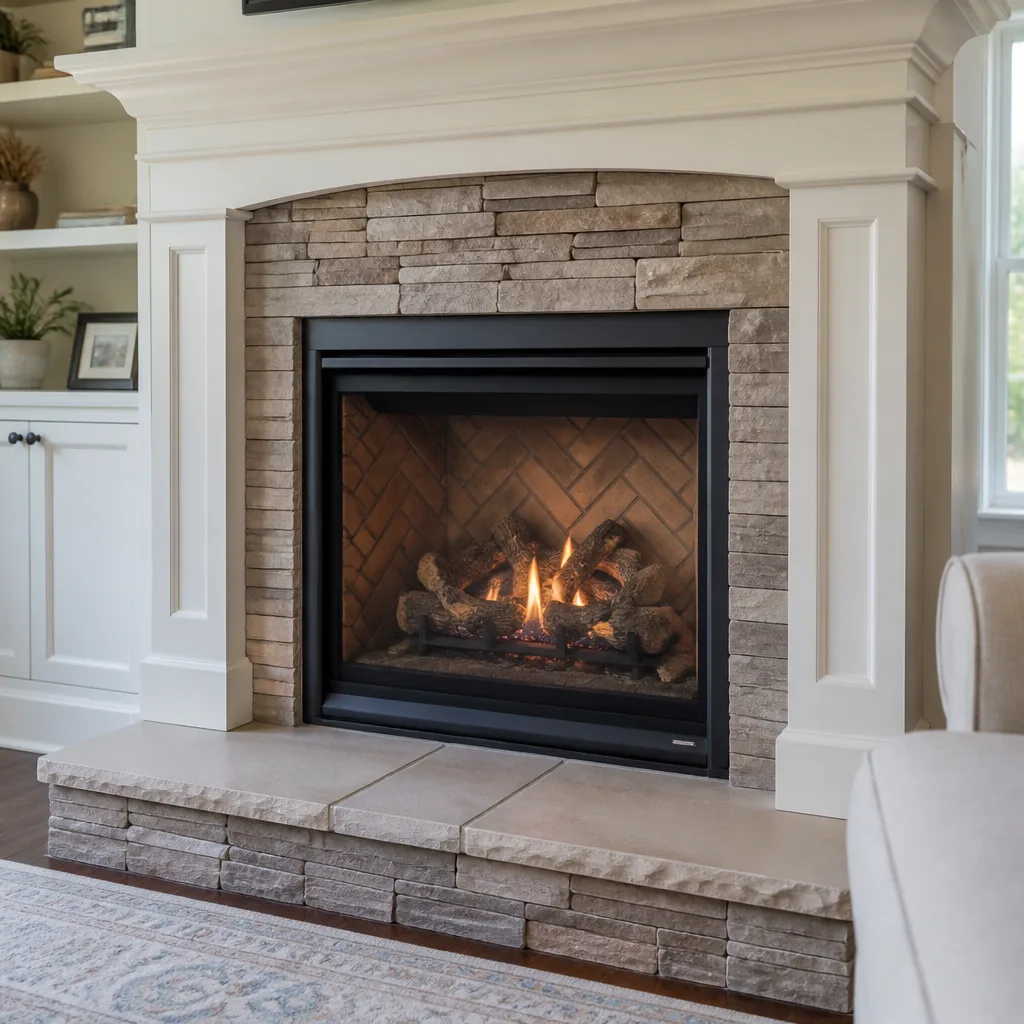 Gas fireplace service
Level 1 sweep and inspection to the NFPA 211 annual standard - flue, crown, cap, and flashing checked and photographed
Chimney sweep logs do not sweep chimneys. They loosen some creosote - which then falls where a brush and vacuum still have to collect it.
DIY vs Professional Chimney Cleaning: The Northridge Homeowner’s Decision Guide
You can buy the same rotary cleaning rods a professional uses for under $80 online, but the equipment was never the limiting factor. What you can’t buy is the ability to recognize what you’re seeing when the camera goes down the flue. In Northridge, where wood-burning fireplaces anchor thousands of mid-century ranch homes and two-story properties in neighborhoods like Sherwood Forest and Devonshire Highlands, the DIY-versus-pro decision hinges less on courage and more on chimney geometry, liner condition, and what your own eyes are actually trained to catch. This guide walks through the real decision variables, not the generic fear list, so you can make an informed call about whether the brush belongs in your hands or ours. For more on how to hire a chimney cleaning contractor in Northridge, see our step-by-step guide.
Quick Answer
DIY chimney cleaning is reasonable for a straight, single-story flue with an accessible cap and a stainless steel liner in visibly good shape, but it is a genuine risk on offset or two-story systems with terra cotta liners that may have hidden seismic cracks from decades of Northridge-area earthquakes. Professional cleaning includes a documented NFPA 211 Level 1 inspection that DIY cannot replicate, and that documentation matters for insurance claims and home sale disclosures.
Styles & brands we work with
- Sweep & inspection
- Caps & crowns
- Flue relining
- Masonry repair
- Gas fireplace service
Table of Contents
- The Real Decision Variable: Your Chimney’s Geometry, Not Your Courage
- How Liner Type Changes the DIY Calculus
- What Professionals Actually See That You Won’t
- The Correct DIY Equipment List (Not the Bare Minimum)
- How to Assess Your Chimney’s DIY-Readiness in 10 Minutes
- The Hybrid Approach: What to Handle Between Professional Visits
- The Documentation Gap: Why Level 1 Inspections Matter for Insurance and Resale
- Real Cost Comparison: DIY vs Professional Over Five Years
The Real Decision Variable: Your Chimney’s Geometry, Not Your Courage
Most DIY chimney cleaning articles frame the choice as a moral test: are you handy enough, brave enough, committed enough? That framing is backwards. The actual decision variable is whether your flue gives you a clean sightline from top to bottom or fights you the whole way down.
Here’s what that means in practical terms. A straight flue, meaning one with no bends or offsets, on a single-story Northridge home with a shallow roof pitch, is mechanically simple to clean. The brush travels in a straight line. The rod doesn’t need to flex around a smoke shelf at an awkward angle. You can usually access the top of the chimney from a ladder without standing on a ridge line. The margin for error is wide, because there’s very little to get wrong.
Now compare that to a two-story home in a neighborhood like Porter Ranch or Granada Hills, where the chimney rises 25 feet above grade and runs through an offset before it reaches the firebox. The brush has to bend. The rods flex under load. If you’re pulling from the bottom, the creosote loosens and falls toward you instead of away. If you’re working from the top, you need to set up on a steep roofline while managing rods that extend three times your body height. This is not a question of bravery. It’s a question of whether the physical system is cooperating with you or actively resisting you.
We’ve seen DIY attempts end with snapped rods, gouged terra cotta flue tiles, and homeowners covered in creosote with a partially cleaned chimney that now needs professional repair. The failure usually isn’t equipment quality. It’s that the geometry made a simple job into a complicated one, and nobody told them the difference before they started.
One more variable that matters in Northridge specifically: roof access. Many homes here were built in the 1950s and 1960s with shake or tile roofing. The roofs are walkable when they’re new and maintained, but 60-year-old tile gets brittle. A slip that would be harmless on modern composite shingles can crack an old clay tile and create a leak. That’s a repair bill that dwarfs the cost of a professional sweep.
How Liner Type Changes the DIY Calculus
If geometry is the first decision variable, liner type is the second. What’s inside your flue determines how much damage a brush can do, and how much you actually need to worry about what you can’t see.
Stainless steel liners are the most forgiving for DIY work. They’re smooth, continuous, and relatively easy to brush. Polypropylene brushes work well on them. The risk of damaging a stainless liner with a properly sized brush is low. If your Northridge home has a relatively new stainless liner, usually installed in the last 15 to 20 years after a real estate transaction or a code compliance repair, you’ve got the best-case scenario for DIY maintenance. Just get the brush diameter right, and you’re unlikely to hurt anything.
Terra cotta clay tile liners are a different story. These were the standard for Northridge homes built before the 1980s, and they’re still present in the majority of masonry chimneys across the Valley. Clay tiles are brittle by design. They handle heat well and hold together for decades, but they don’t flex. When a brush that’s slightly oversized gets jammed on the way down, it can crack a tile. When a rod flexes hard against a clay tile at an offset point, same risk. And here’s the part you can’t see from the top: after 30-plus years in a seismic zone, many of those tiles already have hairline cracks from earthquakes like the 1994 Northridge event and the smaller ones since. A DIY brush job can turn those hairline cracks into structural failures without you ever realizing it happened.
Cast-in-place or resurfaced liners, like those created with HeatShield technology, occupy a middle ground. HeatShield is a cerfractory material, basically a liquid ceramic compound that’s applied to the inside of a compromised flue. It restores a continuous, smooth surface without requiring full liner replacement. We’re factory-certified in HeatShield application, and we’ve used it on dozens of Northridge chimneys where a full reline with something like a DuraFlex system wasn’t yet necessary. A properly resurfaced flue is more forgiving than aged clay, but it’s also a surface you don’t want to scour aggressively with steel brushes. If you’re not sure what you’re looking at, you can’t safely choose the right brush material for the surface.
The point is this: your liner type isn’t academic. It changes the risk equation in specific, mechanical ways. And the only way to know your liner type for certain is to have a camera in the flue or to have owned the home long enough to know exactly when and how the last liner work was done.
What Professionals Actually See That You Won’t
The argument for professional cleaning is usually framed as “we have better equipment.” We do, but that’s not the real difference. The real difference is recognition. When a camera goes down a flue in a Northridge home, the person watching the screen is doing pattern matching against thousands of previous inspections. A creosote glaze reads differently from a creosote powder. A hairline crack in a clay tile reads differently from a shadow line. A light dusting of soot after a season of burning seasoned oak reads completely differently from the matte-black Stage 3 glaze that will fuel a chimney fire.
Most homeowners doing their first DIY sweep are seeing the inside of their flue for the first time. They have no baseline. They don’t know if that crack was there last year. They don’t know if the creosote thickness is normal for their burn habits or a sign of an airflow problem. They can’t tell whether the flue looks better or worse than it should after the brush comes through.
Here’s a concrete example. We cleaned a chimney in a Northridge ranch home off Tampa Avenue a few years back. The homeowner had been doing his own sweeps for three seasons. He was diligent. His brush work was fine. But he’d never once seen the hairline crack running vertically through the second flue tile from the top, because it wasn’t visible through the creosote until we got the camera down there after a full brush pass. That crack, left another season or two, could have separated and dropped a chunk of clay tile into the smoke path or exposed the masonry behind the liner to direct heat. The brush wasn’t the problem. The lack of inspection was.
That’s the thing DIY cannot buy: the diagnostic overlay. The brush removes material. The inspection reads the surface underneath. They’re paired skills, and most of the actual fire-safety value lives in the second one.
If you’re going to do your own cleaning, you need to be honest about this limitation. You’re removing creosote. You’re not assessing your chimney. Those are different jobs, and the second one is the one that prevents chimney fires and carbon monoxide leaks.
The Correct DIY Equipment List (Not the Bare Minimum)
If you’ve read this far and decided your chimney is a reasonable DIY candidate, meaning straight flue, single-story access, newer stainless liner or known-good clay liner, here’s the equipment list that actually works. Not the bare minimum. The correct list.
- Rotary cleaning system with the right diameter brush. The brush must match your flue’s inside diameter. An 8-inch flue needs an 8-inch brush. A 7-inch flue does not. Undersized brushes leave the creosote that matters, and oversized brushes jam. This is the single most common DIY equipment error we see. Buy the rotary rods that connect to a drill. Hand rods work but make the job three times longer than necessary.
- Poly brush for stainless, poly or wire for clay. Steel wire brushes should not be used on stainless liners. They can scar the surface and create micro-grooves where creosote accumulates faster. Poly brushes are the safe, effective choice for smooth liners. If you have an older clay liner and the creosote is Stage 2 or beyond, a wire brush may be appropriate, but understand the surface you’re working on before you choose.
- Drop cloths and a full seal at the fireplace opening. Creosote dust is nasty stuff. It’s oily, it stains, and it gets airborne fast. You need plastic sheeting taped to cover the entire firebox opening, with a small slit for the rod. You need drop cloths across the hearth and surrounding floor. You need to seal off the room if possible. This part of the job is non-negotiable, and it’s the part DIY guides most often gloss over.
- A proper respirator, not a dust mask. Creosote particles are fine enough to bypass a basic paper dust mask. You want an N95 at minimum, and ideally a half-face respirator with organic vapor cartridges if you’re dealing with any Stage 3 glaze or if the chimney hasn’t been cleaned in years. Eye protection is also mandatory, not optional.
- An inspection camera with a light. This is the one thing most DIYers skip that professional sweeps always have. You can buy a serviceable borescope camera that connects to your phone for $40 to $60. After you finish cleaning, run the camera down the flue and look at what you can now see. This doesn’t replace a professional inspection, but it at least gives you a baseline. If you see anything that looks like a crack, a gap, or a structural change, stop and call someone who knows what they’re looking at.
- A ladder tall enough for safe access, plus a second person. Never clean a chimney from the roof without someone on the ground. If you slip, you need a spotter. If the ladder shifts, you need someone to catch it. This is a two-person job, minimum. No exceptions, no shortcuts.
That’s the real list. The total cost runs about $150 to $250 for quality gear, not the $80 for just the rods. And here’s the honest math: if you only clean once a year, you’ll break even on that investment in about one and a half seasons compared to a professional sweep. If you damage a clay liner or crack a roof tile, the math flips hard in the other direction.
If you’re going to invest in the equipment, buy it from a supplier that sells to the trade, not a big-box retailer. The difference is in the rod couplings and the brush bristle density. Cheap consumer kits flex too much under load, which is exactly what causes damage on offset flues.
How to Assess Your Chimney’s DIY-Readiness in 10 Minutes
Before you buy any equipment, do a self-assessment. This is a credibility check on your own chimney. Be honest. The goal is to identify a no-go before you’re standing on the roof with $200 of gear and an uncomfortable decision.
Step 1: Determine your flue configuration. Can you see the full path from the firebox to the top? If your chimney has any offset, meaning it isn’t a perfectly straight vertical run, mark yourself down. Offsets are common in two-story homes and in fireplaces that share a central wall with a second-floor room. If you have to guess, you don’t know, and that’s a warning sign.
Step 2: Check your roof access. Go outside and look at your roof pitch and surface. Is it walkable? Is it tile or composite? How many stories up is the chimney cap? If the answer is “two stories” or “I’d need to walk on clay tile,” that’s a no-go for most people. The chimney in a single-story ranch with a low-pitch composite roof is a reasonable access scenario. Everything beyond that gets progressively harder.
Step 3: Identify your liner type and age. If you don’t know what your liner is made of, or when it was last inspected, that’s already a red flag. A stainless liner installed in 2015 is very different from clay tiles installed in 1962. If the answer is “I have no idea,” your first step isn’t buying a brush. It’s getting an inspection so you know what you’re actually working with.
Step 4: Assess your physical risk tolerance. This is the part nobody wants to admit. Working on a roof with a ladder, managing rotary rods, dealing with a dusty creosote cleanup, all of it requires physical comfort with heights and awkward positioning. If you’re not comfortable on a ladder for an hour, you’re not going to be comfortable cleaning a chimney. That’s not a character flaw. It’s a realistic assessment.
Step 5: Decide if you need documentation. Are you planning to sell your home in the next few years? Are you in a situation where you might need to file an insurance claim related to the fireplace or chimney? If yes, your DIY cleaning doesn’t create the paper trail a professional sweep does. More on that in a moment.
If you run through those five steps and the answers are: straight flue, easy roof access, known modern liner, comfortable on ladders, no upcoming real estate transaction, then you’re a legitimate DIY candidate. Anything less, and the math starts leaning toward calling a professional.
The Hybrid Approach: What to Handle Between Professional Visits
This is the section most DIY-versus-pro guides never get to. There’s a middle path. You don’t have to choose between full DIY and never touching your chimney. The hybrid approach splits maintenance into what a homeowner can legitimately handle and what should always go to a professional, and it’s how we advise the maintenance-minded homeowners we work with across Northridge. For seasonal chimney cleaning care tailored to Northridge, our year-round guide covers when to DIY and when to call a pro.
What you can reasonably handle between professional visits:
- Monthly visual inspections of the firebox and damper. Look for flaking brick, loose mortar, rust on the damper plate, or anything that looks different from last month. You’re not diagnosing. You’re just building a baseline of what “normal” looks like so you recognize abnormal faster.
- Clearing ash before it builds past two inches. Don’t clean it all out. A thin layer of ash helps insulate the firebox floor and makes your next fire easier to start. But don’t let it build up. Excess ash restricts airflow and can hold moisture against the firebox floor.
- Checking the chimney cap for visible damage from the ground. Use binoculars if you need to. Look for a missing cap, a rusted screen, or a cap that’s listing to one side. Birds and squirrels in Northridge will exploit a damaged cap within weeks.
- Monitoring your burn habits. This is the biggest one. Burn seasoned hardwoods, not unseasoned pine or manufactured logs with unknown additives. Keep fires small and hot rather than large and smoldering. Your burn habits are the single biggest variable in how fast creosote accumulates.
What should always go to a professional:
- Any cleaning that requires working from a two-story roof or a steep pitch. Not worth the fall risk. Period.
- Any cleaning on a chimney with visible structural issues. If you can see cracked mortar, spalling brick, or a leaning chimney, you need an inspection before anything else. Cleaning a structurally compromised chimney doesn’t fix the problem and can make it worse.
- Any repair, relining, or component replacement. Caps from Famco, liners from DuraFlex, resurfacing with HeatShield, any of that work is professional territory. We stock and install parts from these brands specifically because the margin for error on a chimney repair is zero. Wrong cap size, wrong liner diameter, wrong mortar mix, any of those mistakes become a safety issue rather than a cosmetic one.
- The annual NFPA 211 Level 1 inspection. Even the most diligent DIY cleaner should have a professional inspection once a year. The inspection catches structural changes that happen whether or not you burn regularly, including seismic shifting, water intrusion, and animal activity.
The hybrid approach works because it’s honest about what your time and skill are actually suited to. You maintain. You watch. You call us when the system needs something you can’t see or can’t safely reach. That’s not a compromise. That’s how any responsible maintenance system works, whether it’s a car, a roof, or a chimney.
The Documentation Gap: Why Level 1 Inspections Matter for Insurance and Resale
Here’s the thing about DIY chimney cleaning that almost never makes it into the conversation: it produces no documentation. You clean the flue. You do a fine job. And then, six months later, your insurance company asks for proof of chimney maintenance after a claim, or your real estate agent tells you the buyer wants documentation of the chimney’s condition. You have nothing to show. You have a memory and a dirty brush.
A professional chimney sweep in Northridge produces a documented NFPA 211 Level 1 inspection report every time we clean. That report includes what we found, what we cleaned, and what the flue looked like on camera after the cleaning. It’s a paper trail that says, at a specific point in time, this chimney was maintained and inspected to a recognized standard.
That matters in two situations. First, insurance claims. If you ever have a chimney fire or a related structural issue, your insurance company is going to ask about maintenance history. “I cleaned it myself” is not a documented maintenance history. “Here’s my dated Level 1 inspection report from Chimney Sweep Northridge showing a clean flue with no visible defects” is. The difference could be coverage or denial.
Second, home sales. In the Northridge real estate market, where homes routinely sell for $800,000 to well over $1 million depending on the neighborhood and lot size, buyers are increasingly requesting chimney inspections as part of their contingency period. If you’ve been doing nothing but DIY cleaning for five years, you have no documentation to show. The buyer orders their own inspection, the inspector finds whatever has been developing, and suddenly you’re negotiating a repair credit you didn’t see coming. A professional inspection every year costs less than one surprise chimney repair credit.
This is the part no DIY guide can solve. You cannot inspect your own chimney to a standard that a third party will accept as documentation. It’s not a matter of effort or intelligence. It’s a matter of independence. A report from the person who owns the chimney and cleaned it themselves carries no weight with an insurance adjuster or a homebuyer’s agent. That’s not cynicism. That’s how documentation works in every other field too.
Real Cost Comparison: DIY vs Professional Over Five Years
Let’s put numbers to this. The DIY-versus-professional decision is usually framed as “pay $200 once or pay $200 once for equipment and then it’s free forever.” That math is incomplete. For a detailed chimney cleaning cost breakdown for Northridge homeowners, see our 2026 pricing reference. Here’s the honest five-year picture for a typical homeowner who burns wood regularly during winter months.
Full DIY path, five years:
- Quality equipment purchase: $200 to $250 (rotary rods, brush, camera, respirator, drop cloths, ladder if you don’t own one)
- Replacement brushes and consumables: $50 to $75 over five years
- Your labor: roughly 4 to 6 hours per year including setup, cleaning, inspection, and cleanup
- Total out-of-pocket: $250 to $325 over five years, plus 20 to 30 hours of your time
- Documentation: none
- Risk exposure: self-insured for any damage you cause to the liner, the roof, or yourself
Full professional path, five years:
- Professional sweep and Level 1 inspection, once per year: roughly $200 to $350 per visit depending on chimney condition and liner type
- Total out-of-pocket: $1,000 to $1,750 over five years
- Your labor: zero hours
- Documentation: five dated Level 1 inspection reports
- Risk exposure: transferred to a licensed and insured professional
Hybrid path, five years:
- Professional sweep and inspection every two years: roughly $400 to $700 total
- Your monthly visual checks and burn-habit monitoring: a few minutes per week
- Optional basic equipment for between-visit light maintenance: $50 to $100
- Total out-of-pocket: $450 to $800 over five years
- Documentation: two to three Level 1 inspection reports, depending on schedule
- Risk exposure: minimized, though limited documentation gaps exist
The full DIY path looks cheaper on paper, and it is, if nothing goes wrong. But the value of the professional path isn’t just the cleaning. It’s the inspection, the documentation, and the early detection of problems that cost less to fix now than they will in three years. The hybrid path splits the difference, and for a discipline homeowner with a DIY-friendly chimney, it’s a reasonable middle ground.
We’re not here to talk anyone out of DIY who’s genuinely equipped for it. But we’ve also fixed enough DIY-damaged chimneys to know that the equipment cost was never the real economics. The real question is whether you’re paying for a clean flue or paying for a known-good flue. Those are different services, and only one of them comes with a camera and a report.
Common Mistakes to Avoid
- Buying the wrong brush diameter. The most common DIY mistake we see. A brush that’s too small for your flue leaves the creosote that matters, and a brush that’s too large binds, flexes, and can crack a clay tile. This single error causes more DIY damage than all other causes combined.
- Cleaning from the roof without a spotter or proper ladder setup. This is how falls happen. Every year, homeowners end up in emergency rooms from chimney access injuries that were entirely preventable. A second person on the ground is not optional.
- Using steel brushes on stainless liners. If you’ve got a modern stainless liner and you scrub it with a wire brush, you’re scoring the surface and creating micro-grooves that accumulate creosote faster next season. Match the brush material to the liner type.
- Skipping the inspection after the cleaning. Even if you do your own sweep, the only way to know if your chimney is actually safe is to look at it with a camera. A clean flue with a structural crack is still a hazard. Don’t mistake “the brush went through” for “the chimney is sound.”
- Neglecting roof safety on older Northridge tile roofs. Many homes in this part of the Valley have roofing materials that were installed decades ago. Old clay tile shatters under a misplaced foot. A cracked tile means water intrusion, which means water damage to the chimney chase or the ceiling below. The repair bill for that exceeds multiple professional sweeps.
- Treating a chimney fire as a one-time event. If you’ve had a chimney fire, even a small one that burned itself out, your chimney needs a professional inspection before you use it again. A chimney fire can crack the liner or separate the flue tiles from the masonry. Those failures are not visible from the outside, and they can turn the next fire into a structure fire. This is not a DIY situation.
See the difference
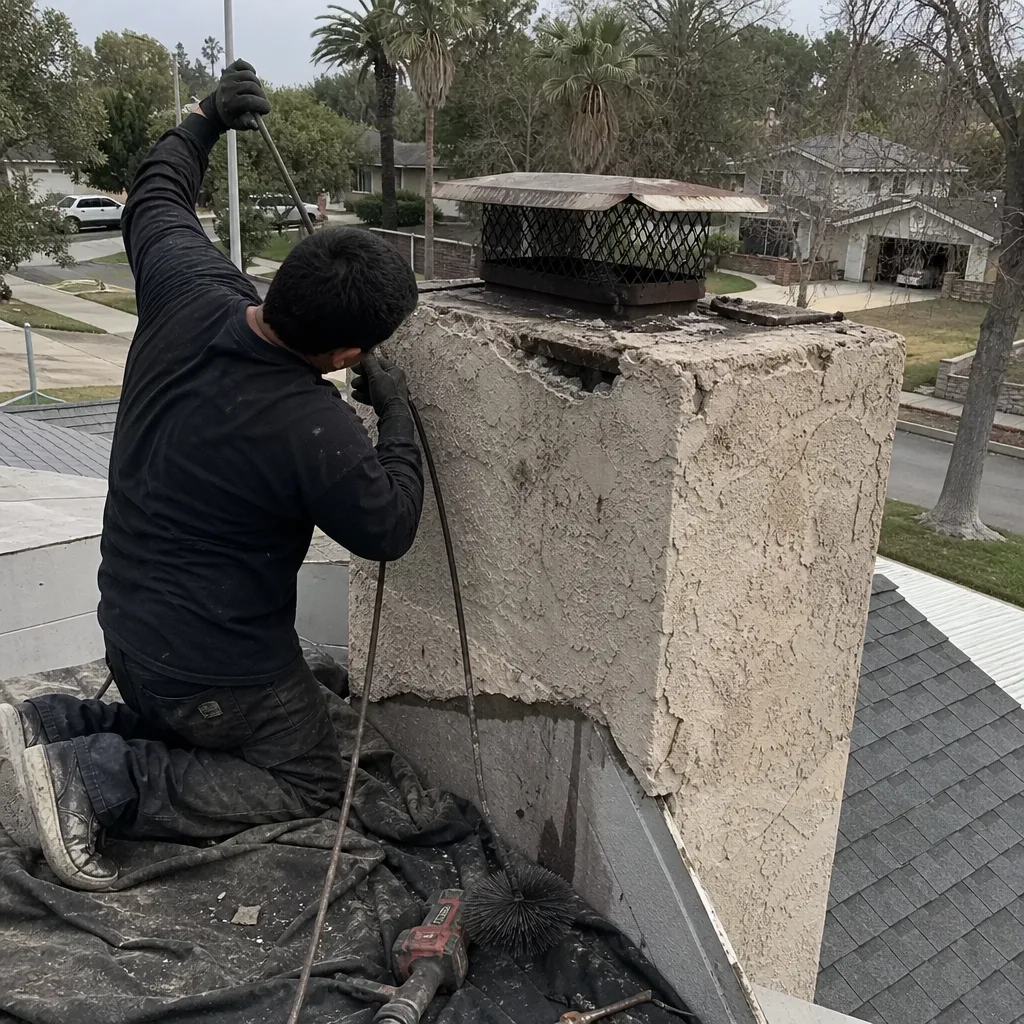 Before
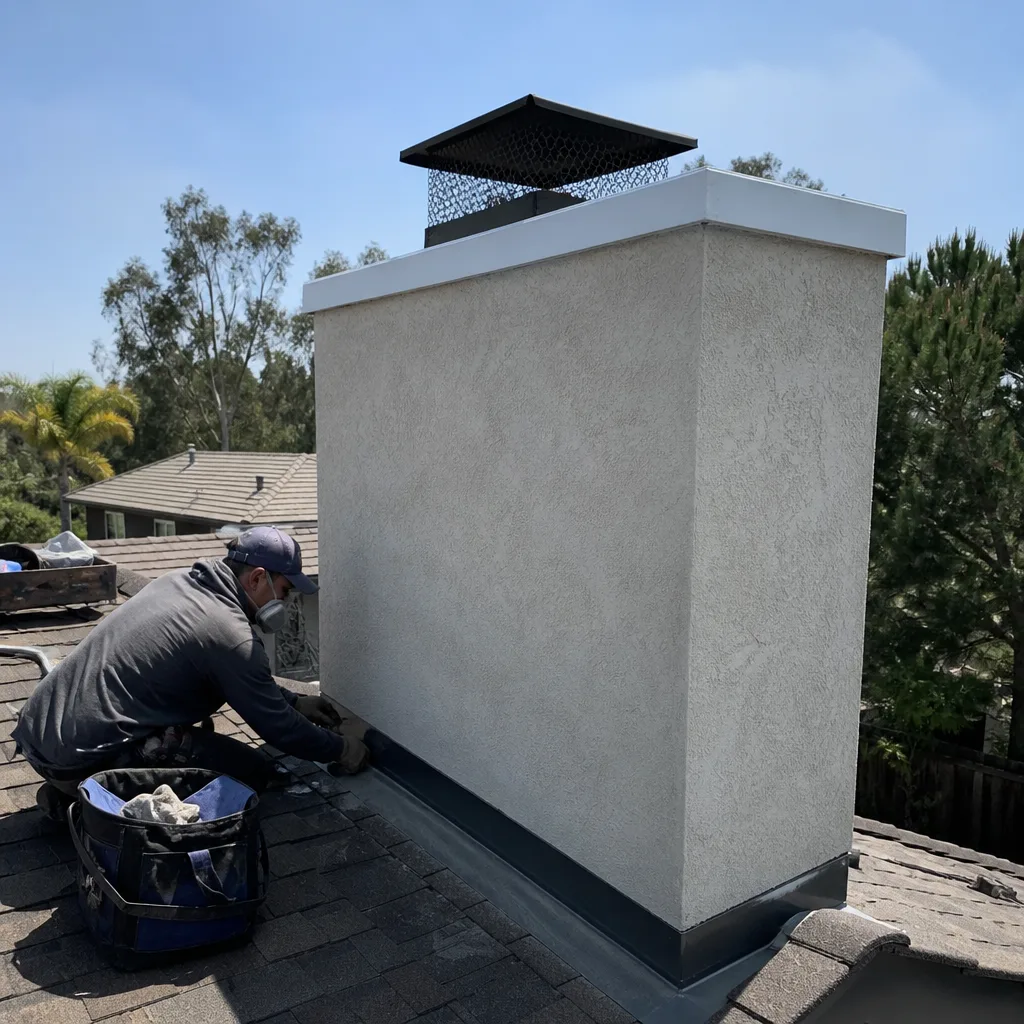 After
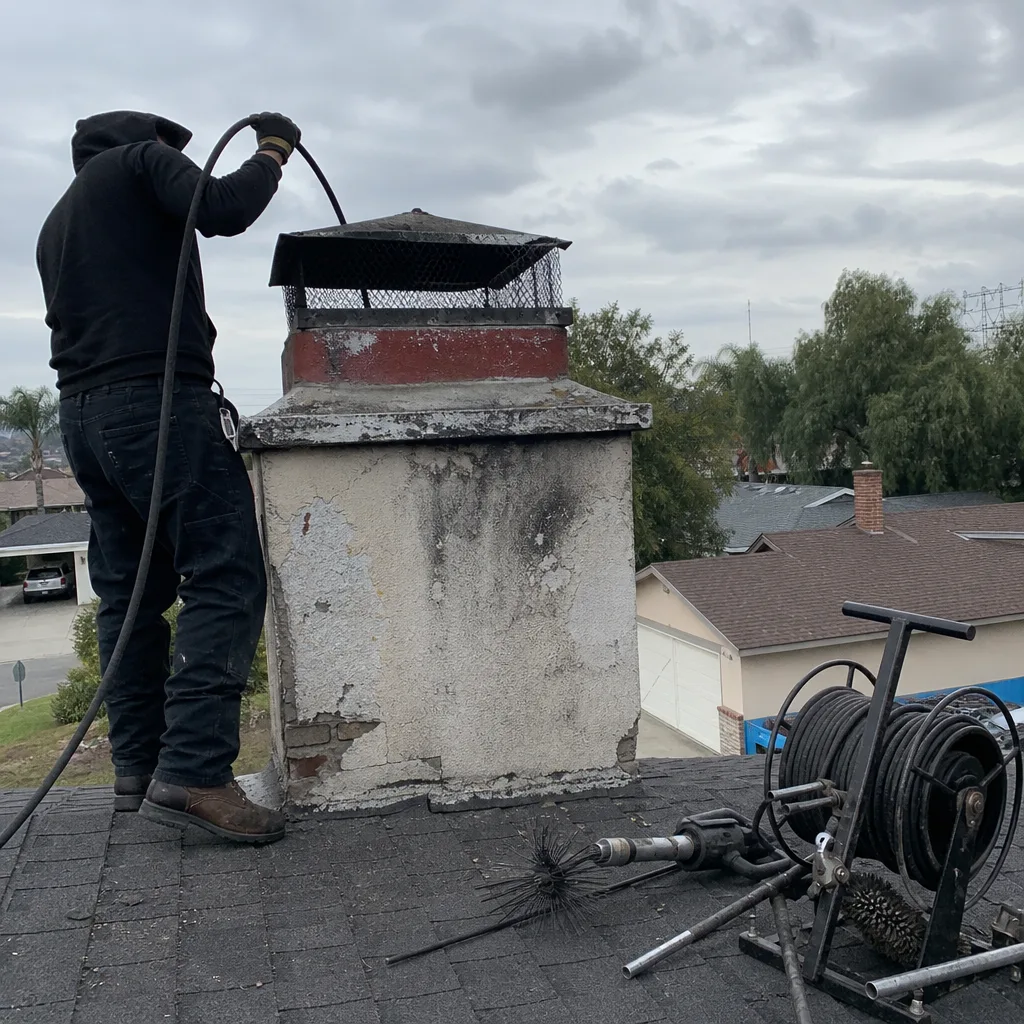 Before
 After
 Before
 After
When to Call a Professional
You should call a professional if your chimney is two stories, has an offset, has a clay tile liner of unknown condition, shows visible signs of water damage or stair-step cracking on the exterior masonry, or if you’ve recently experienced a chimney fire. You should also call if you’re selling your home and need documented inspection history, or if you’ve been doing DIY maintenance for several years without a professional once looking down the flue with a camera. The gap between “I cleaned it” and “I know it’s safe” is exactly what an inspection closes. Chimney Sweep in Northridge offers free estimates, and we’ll tell you honestly whether your chimney is a reasonable DIY candidate or one that needs professional hands. Call (833) 589-9223.
Frequently Asked Questions
A professional chimney sweep and NFPA 211 Level 1 inspection in Northridge typically costs between $200 and $350, depending on the height of the chimney, the liner type, and how much creosote has accumulated since the last cleaning. Your cost will land at the lower end if you clean annually and the flue is straight and accessible, and at the higher end if it’s been several years or the chimney has an offset or two-story access. Call (833) 589-9223 for an exact quote, and we’ll tell you the price before we book, no surprises.
If you burn wood regularly during the winter, you should have the chimney swept and inspected once per year, ideally in late summer or early fall before burning season starts. Check our blog for more guides & resources on keeping your chimney safe year-round. If you burn only occasionally or use a gas insert, every two years is usually sufficient. Northridge’s winter burn season runs roughly from November through March, and the dry summer months are actually the best time to schedule maintenance because any water-damaged mortar or brick has had time to show itself.
Yes. Cleaning and inspecting are different jobs. A DIY cleaning removes creosote, but it doesn’t assess the structural condition of the flue, the liner, or the masonry, and it doesn’t produce documentation that an insurance company or homebuyer will accept. The most dangerous chimney problems, hairline cracks, hidden water intrusion, separated flue tiles, are invisible to the naked eye and only show up on a camera inspection. We recommend a professional Level 1 inspection at least once every two years, even for disciplined DIY cleaners.
You should have the chimney inspected before using the fireplace again. Cracked mortar on the exterior is often a sign of water intrusion or structural shifting, and either one can compromise the flue in ways you can’t see from the outside. In Northridge, where decades of seismic activity has stressed thousands of masonry chimneys, step cracking in the mortar joints is a specific warning sign that should always be evaluated by a professional before the next fire.
A sweep is the physical removal of creosote and soot from the flue. An inspection is a structural assessment of the chimney’s condition, including the liner, the smoke chamber, the damper, and the exterior masonry. A professional sweep should always include a Level 1 inspection, but the reverse isn’t true. If you hire someone who only cleans without inspecting, you’re paying for half the service. Every Chimney Repair in Northridge job we do starts with a camera inspection, because you can’t fix what you haven’t looked at.
No, and in some cases they make it worse. Manufactured logs burn hotter and longer than natural wood, but they don’t eliminate creosote production. Some manufactured log products actually produce more creosote per burn because they’re engineered to produce consistent heat over several hours, which means more total combustion byproducts in the flue. The only reliable way to reduce creosote is to burn seasoned hardwood, keep fires small and hot, and have the chimney swept on schedule. Call (833) 589-9223 if you want to talk through what your burn habits mean for your maintenance schedule.
The Bottom Line
The DIY-versus-professional chimney cleaning decision comes down to three things: what your flue looks like, what your roof access looks like, and what kind of documentation you need. A straight, single-story chimney with a modern stainless liner is a reasonable DIY project for a careful homeowner with the right equipment. An offset, two-story chimney with old clay tiles is not. And even the best DIY cleaning can’t produce the inspection report that protects you in an insurance claim or a home sale.
You can buy the same rods a professional uses. You can’t buy the recognition that tells you what those rods are revealing. For most Northridge homeowners, the hybrid approach makes the most sense: handle the monthly observation and burn-habit discipline yourself, and let a professional handle the cleaning and inspection. Chimney Sweep Northridge home services include sweeping, inspection, and repair, which means the person who cleans your chimney is also the person who can fix whatever the camera finds. Dryer Vent Cleaning in Northridge is part of the same package, because your dryer vent is a fire hazard hiding in plain sight, and we clear it the same way we clear your flue. Call (833) 589-9223 for a free estimate, and we’ll tell you honestly whether your chimney is one you can maintain yourself or one that needs professional hands.
Written by the team at Chimney Sweep Northridge, serving Northridge since 2012.