
Last updated November 2, 2026
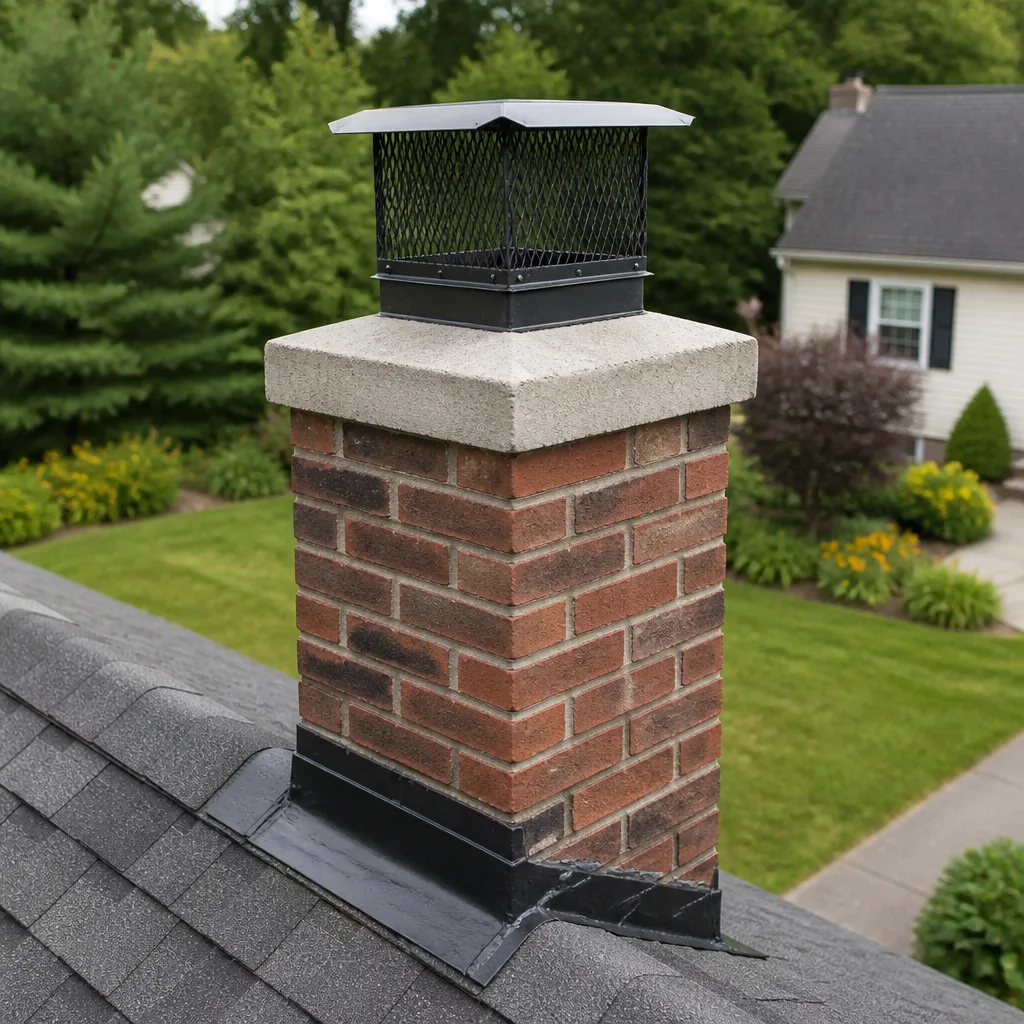 Sweep & inspection
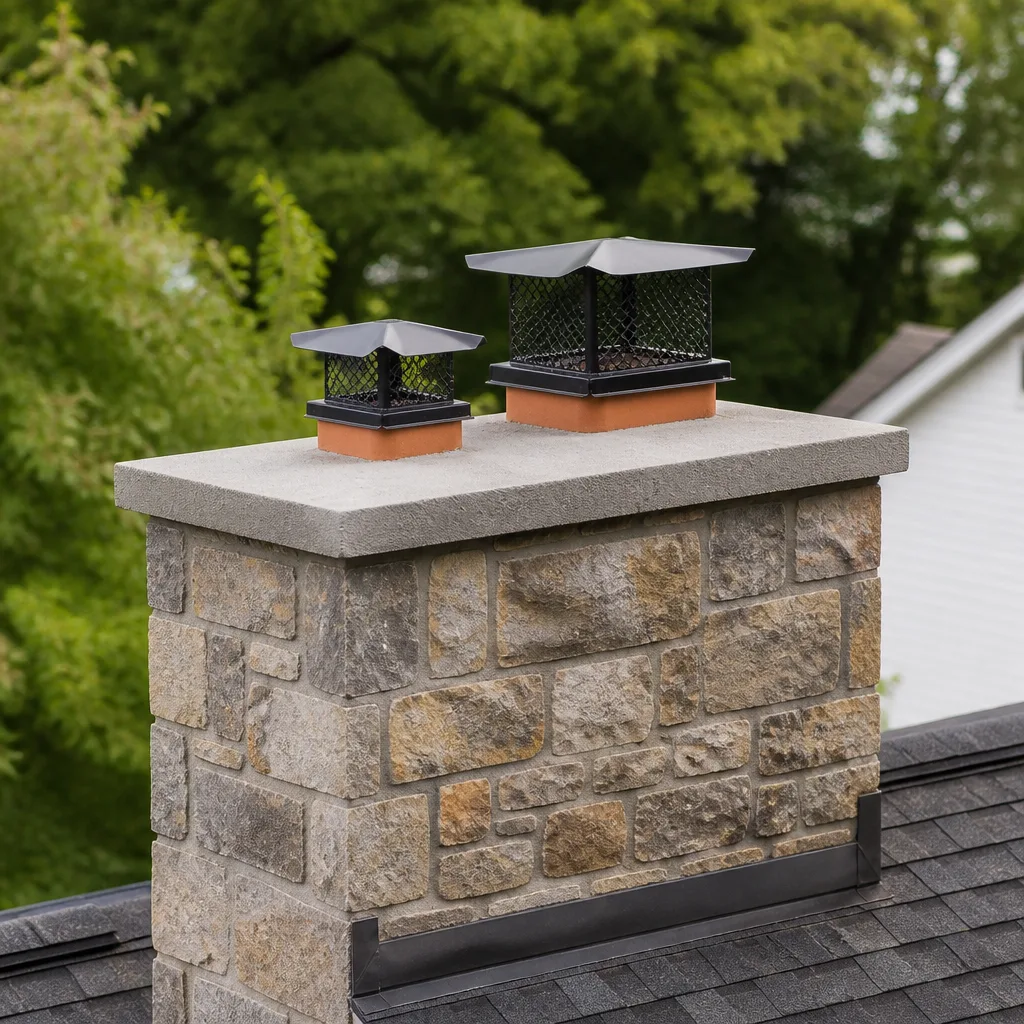 Caps & crowns
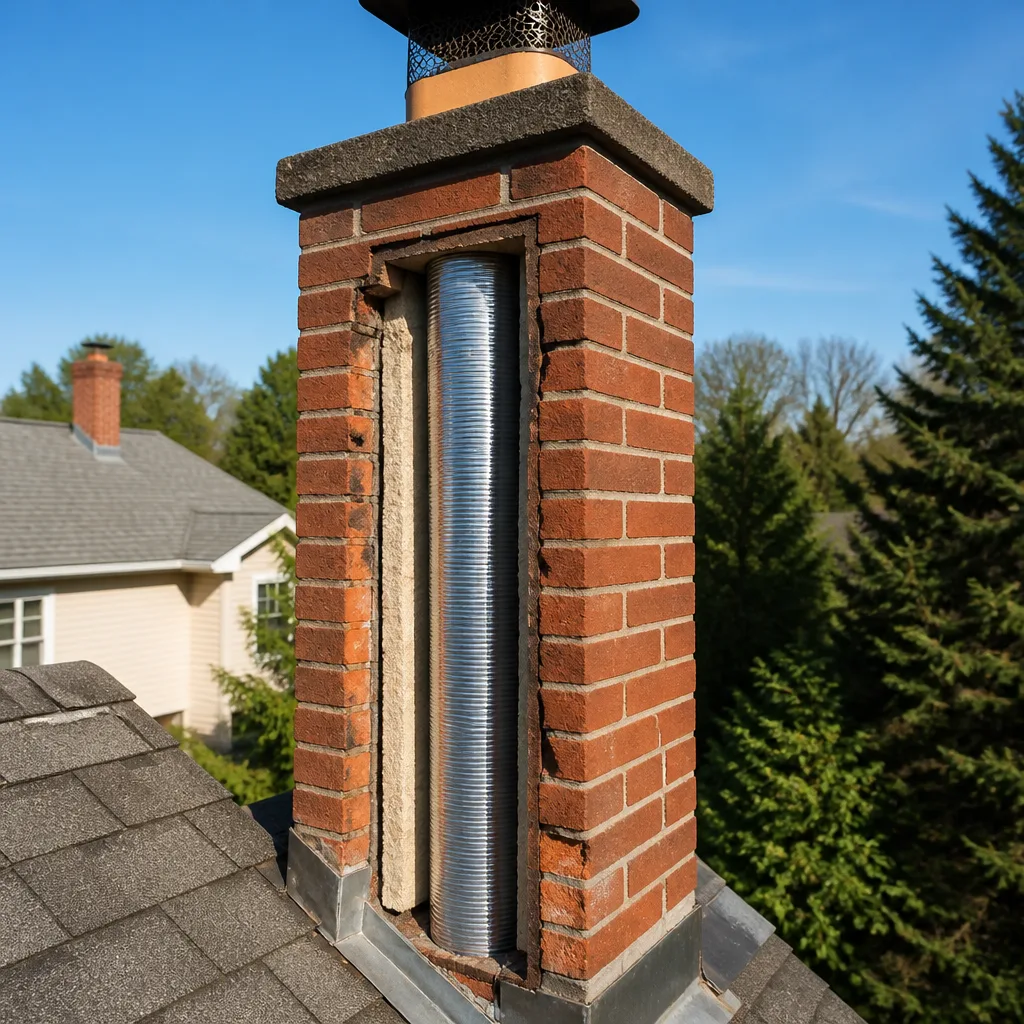 Flue relining
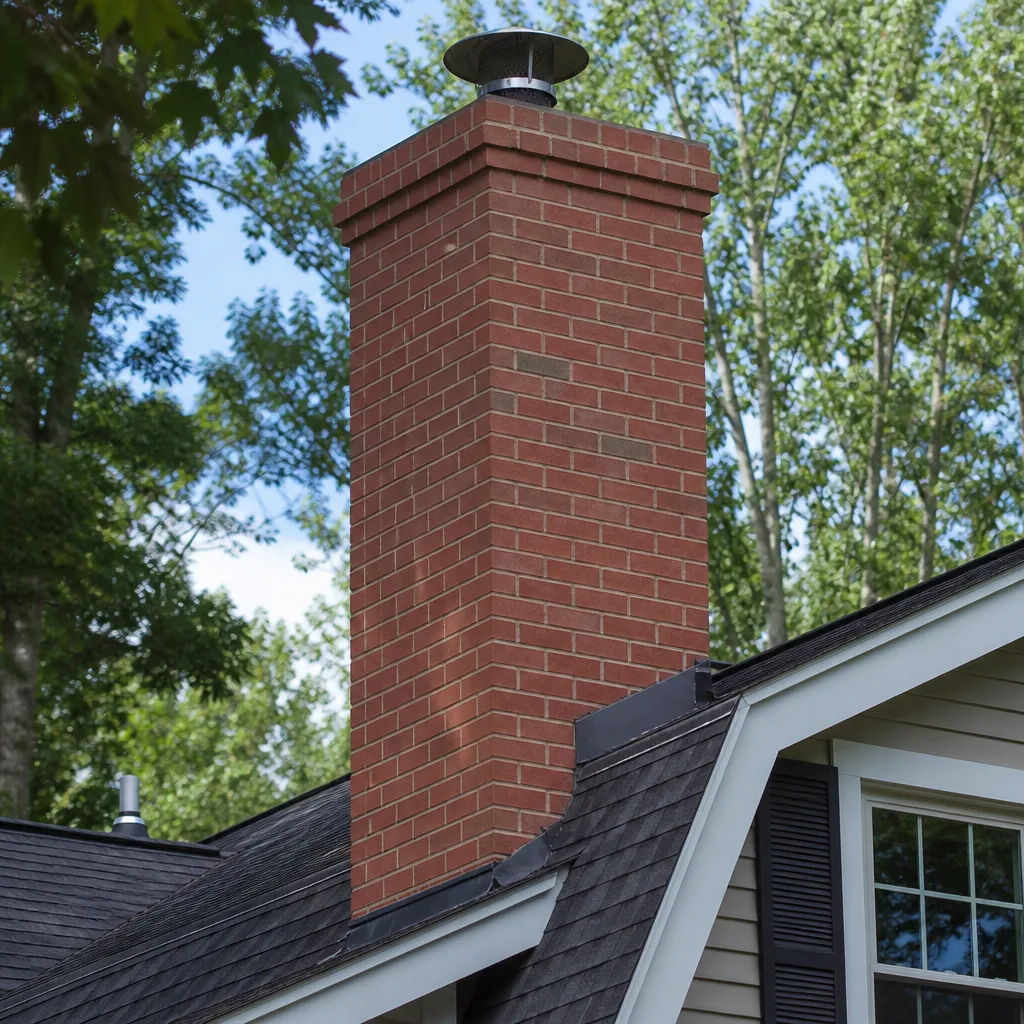 Masonry repair
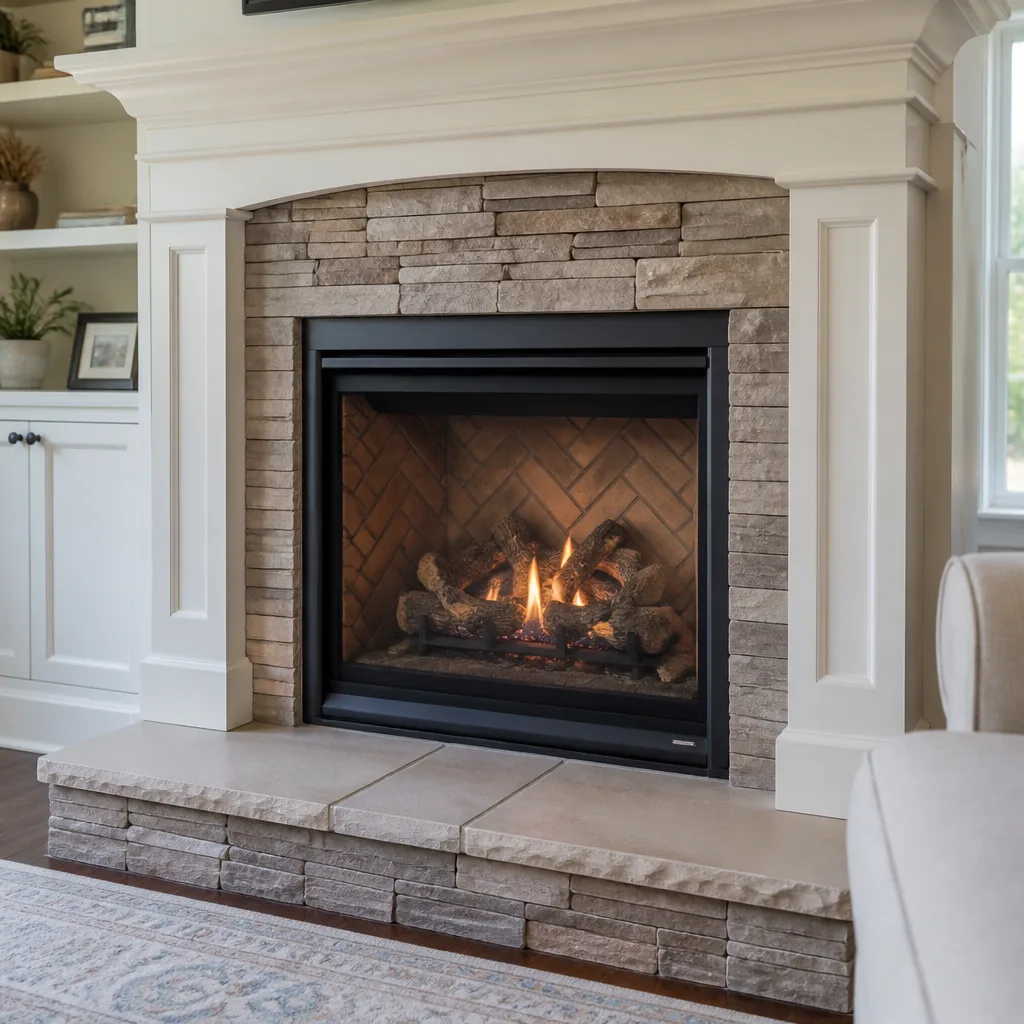 Gas fireplace service
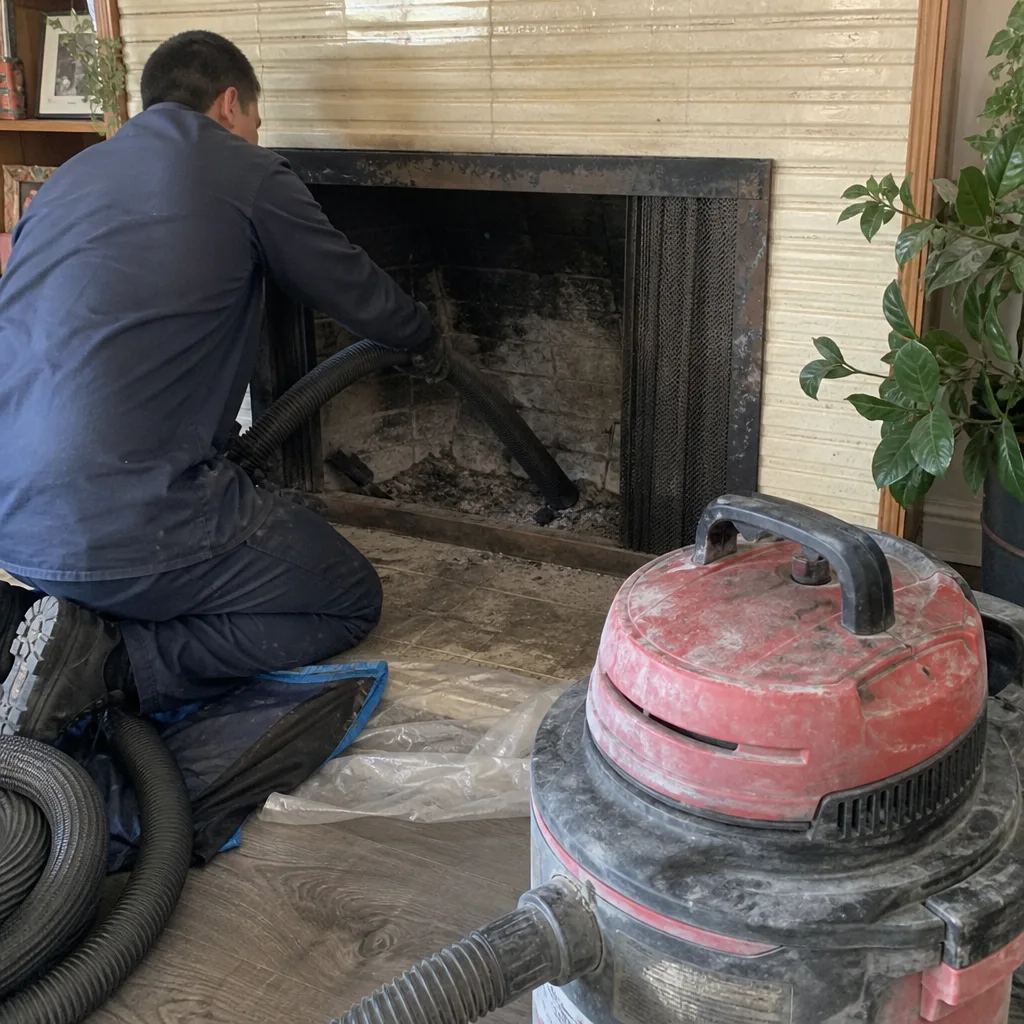
Level 1 sweep and inspection to the NFPA 211 annual standard - flue, crown, cap, and flashing checked and photographed
Chimney sweep logs do not sweep chimneys. They loosen some creosote - which then falls where a brush and vacuum still have to collect it.
Chimney Sweep Maintenance Checklist for Northridge Homeowners
A checklist that tells you to “check the crown annually” without specifying what crown material you have is the checklist equivalent of a car manual that says “check the engine.” The material determines the failure mode. In Northridge, where summer temperatures routinely climb past 100 degrees and Santa Ana winds carry abrasive dust through the Valley, stucco-exterior homes with terra cotta flue liners fail differently than brick-construction chimneys with cast-in-place systems. This guide organizes maintenance by component and construction type, not just by calendar, so you can actually see problems before they become repair bills. We’ll walk through what to inspect, what tools you need, and which findings are normal wear versus active deterioration in the Northridge climate.
Quick Answer
The core chimney maintenance checklist for Northridge homeowners covers six components: crown, cap, flashing, liner, firebox, and damper. Inspect each twice a year, once before burning season in October and again after the last fire in spring. In Northridge specifically, Santa Ana wind season adds a seventh inspection point: checking that your cap and spark arrestor are clear of wind-driven debris and that no ember-sized gaps have opened in the spark arrestor mesh. Most of this inspection can be done from the ground with binoculars and a flashlight, though liner and smoke chamber inspection requires a professional camera scan every two years at minimum.
Styles & brands we work with
- Sweep & inspection
- Caps & crowns
- Flue relining
- Masonry repair
- Gas fireplace service
Table of Contents
- Crown Inspection: Material Determines the Failure Mode
- Cap and Spark Arrestor: The Santa Ana Factor
- Flashing Check: Where Water Meets Roof
- Liner Assessment: Terra Cotta vs. Cast-in-Place vs. Stainless
- Firebox and Damper: What Wear Actually Looks Like
- The Northridge Seasonal Schedule: When to Check What
- The Documentation Habit: Your Insurance Paper Trail
- Tools You Actually Need (None of Them Are Expensive)
Crown Inspection: Material Determines the Failure Mode
The chimney crown is the concrete or mortar slab that caps the top of the chimney structure and sheds water away from the flue. In Northridge, crowns fail primarily from thermal cycling. Summer sun heats the crown surface to 140 degrees or more, then overnight temperatures drop forty degrees. That daily expansion and contraction creates hairline cracks within a few years of installation, even on well-built crowns. The question is whether those cracks are cosmetic or structural.
Here’s the distinction that most generic checklists miss:
- Normal settling cracks: Hairline lines thinner than a credit card edge, running in no particular pattern, not widening at the edges. These are cosmetic. Monitor them photographically once a year.
- Active spalling: The crown surface flakes or crumbles when you run a gloved finger across it. Chunks may have already fallen. This indicates water has penetrated the crown and is freezing or expanding within the material. In Northridge, spalling is accelerated by UV degradation of older mortar mixes. This is not cosmetic. It is the beginning of the water path down into your chimney structure.
- Separated crown edge: A visible gap between the crown and the chimney chase or brick. Water enters this gap and is drawn down by capillary action. You’ll see efflorescence (white mineral staining) on the brick below within a season.
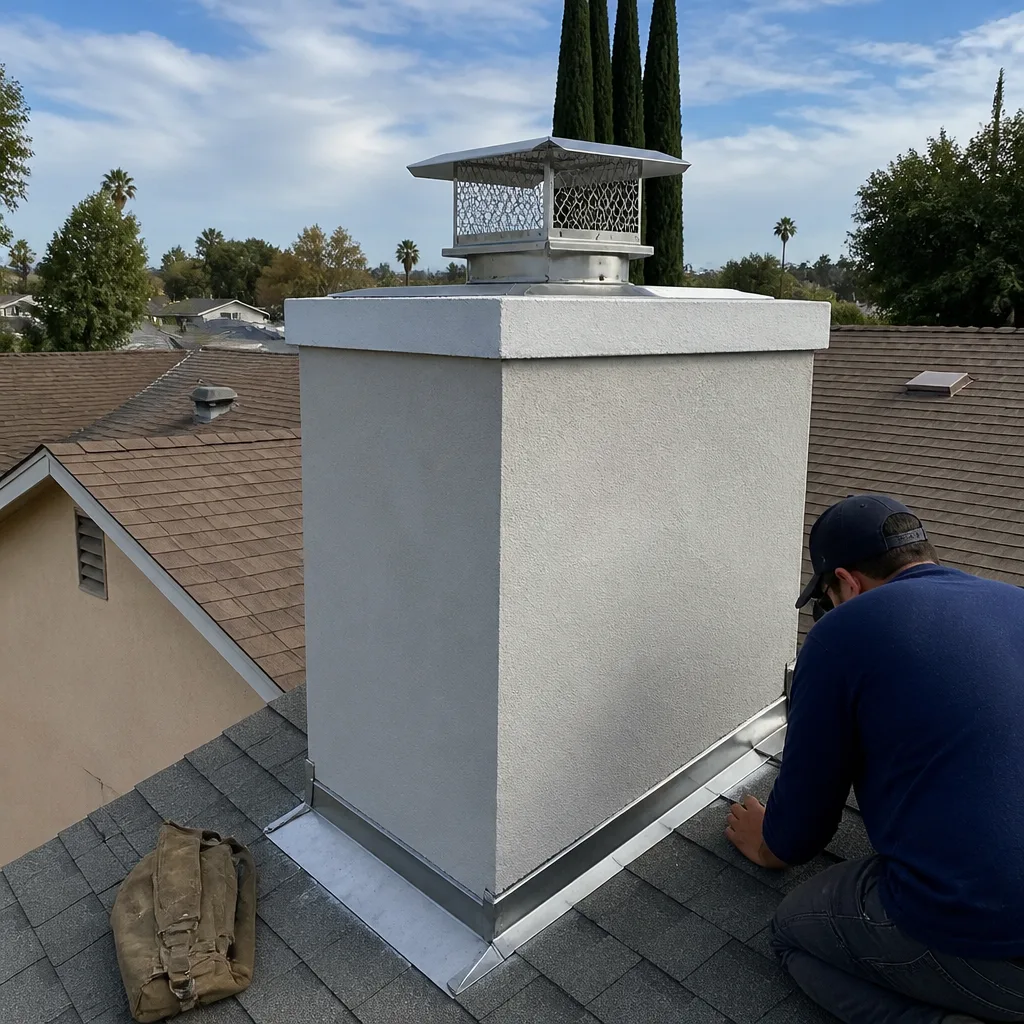
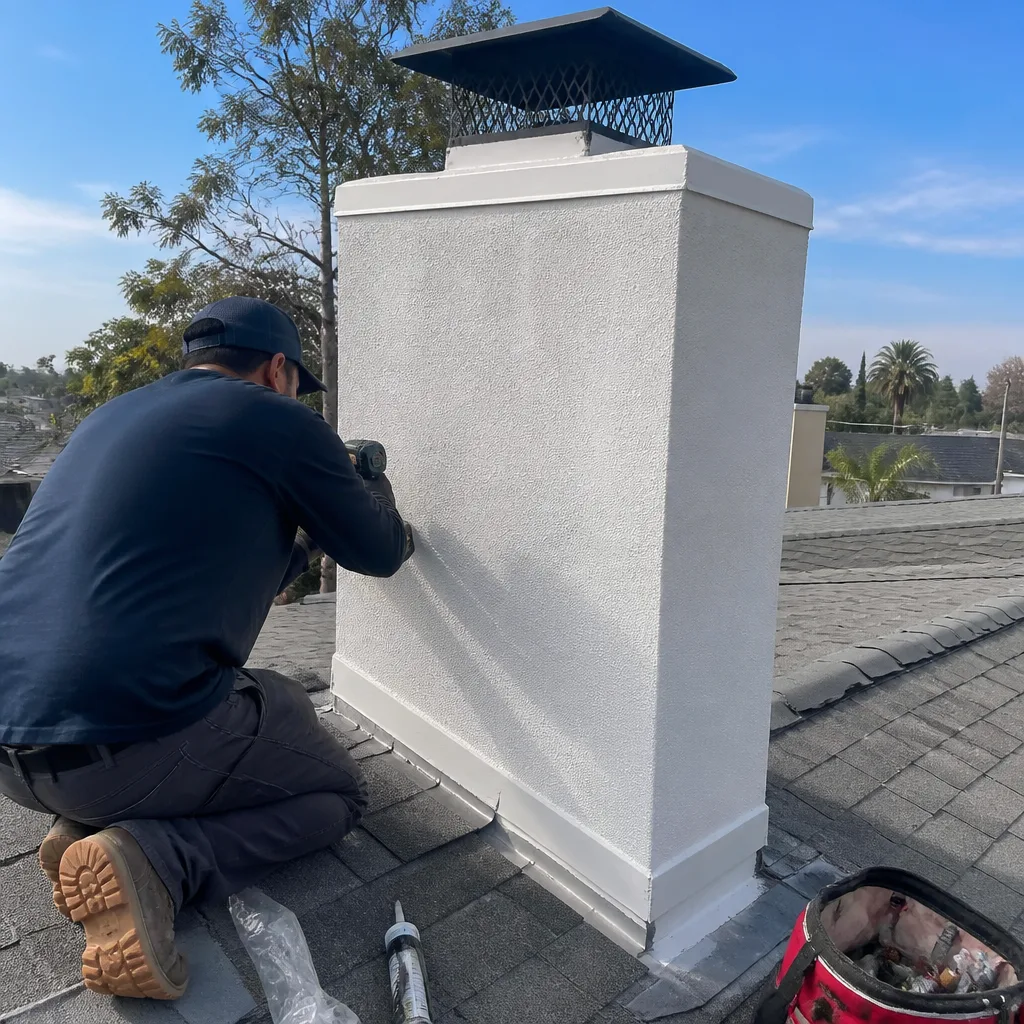
What about stucco-exterior homes in Northridge? Stucco chimneys are typically frame-built with a metal chase top rather than a poured concrete crown. The chase top does the same job, but its failure mode is rust-through at the corners and seams. Check for rust streaks running down the stucco from the top cap, and for any gap where the top cap meets the stucco. Chase top replacement is a straightforward repair and we keep Olympia Chimney chase covers in stock for exactly this situation, because the original builder-grade chase tops on many Northridge stucco homes are now reaching the end of their service life.
Cap and Spark Arrestor: The Santa Ana Factor
Your chimney cap serves two functions: keeping water out of the flue and keeping embers in. The spark arrestor mesh wrapped around the cap does the second job, and in Northridge it has a third job that national checklists rarely mention: keeping Santa Ana wind-driven debris from packing the flue opening.
During Santa Ana season, which runs roughly September through January in the Valley, sustained winds from the northeast can exceed 40 mph for days at a time. Those winds carry leaves, palm fronds from Northridge’s abundant Canary Island palms, and construction dust into every exposed opening. Your cap’s spark arrestor mesh catches most of it. The problem is that the mesh itself becomes clogged, reducing draft and creating a fire hazard if debris sits against the hot flue gases.
Here’s what to check on the cap and spark arrestor, ideally before Santa Ana season begins and again after the first major wind event:
- Mesh condition: Look for holes or rusted sections in the spark arrestor mesh using binoculars from the ground. Ember escape through a hole the size of a dime is enough to ignite a shake roof or dried landscaping.
- Debris accumulation: Look for leaves, palm frond fibers, or bird nesting material visible through the mesh. After a Santa Ana event, this is the single most common thing we find on chimney sweep calls in Northridge.
- Cap attachment: Wind loading on a loose cap will work the screws loose over time. A rattling cap is audible from inside the house during high wind. Listen for it.
- Rust-through at the cap crown: Water pools on flat-top caps and rusts through, especially on older galvanized models. Rust stains on the flue clay below the cap are the telltale.
- Sealant condition: Look for cracked, peeling, or missing sealant where the flashing meets the chimney. A continuous bead should be visible. If it looks like dried riverbed mud, it needs scraping and resealing.
- Lifted metal edges: Santa Ana winds get under the top edge of step flashing and work it upward. You may see visible daylight between the flashing and the chimney chase.
- Staining inside the attic: Dark water stains on the roof sheathing around the chimney chase, or on the framing members directly beside the chimney, mean water has already infiltrated. Do not wait on this one.
- Rust on the flashing itself: Surface rust is cosmetic for a while. Rust-through is not. If you can see pinholes or flaking rust, the flashing is structurally on its way out.
- Shine a bright flashlight across the back wall and side walls at an angle. The shadows will reveal cracks you can’t see head-on.
- Tap each firebrick with a wooden dowel or the back of a screwdriver handle. A solid firebrick sounds like a dull thud. A loose firebrick sounds hollow and may shift visibly.
- Look for white or gray deposits on the firebrick. These are normal combustion byproducts. What is not normal is dark, tarry residue on the walls. That is creosote, and it means your burns are running too cool or your wood is too green.
- Check the ash dump door at the bottom of the firebox if you have one. The metal hinges and frame wear out from heat exposure. If the door doesn’t close flush, you’ll get draft issues.
- Schedule your annual chimney sweep before your first fire. Chimney sweeping in Northridge books out quickly in October and November.
- Inspect the cap and spark arrestor for pre-existing damage that Santa Ana winds will make worse.
- Test the damper: open it fully, close it fully, and verify it holds position. Replace the batteries in your carbon monoxide detectors at the same time.
- After your sweep, do a visual crown and flashing check from the ground with binoculars. Photograph anything questionable so you can track changes later.
- Burn your first fire with a small amount of well-seasoned wood, not a full load. Watch for any smoke entering the room rather than drafting up the flue.
- After each major Santa Ana wind event, check the cap from the ground for debris accumulation. Listen for cap rattle.
- If you burn more than twice per week, check flue buildup by shining a flashlight up from inside the firebox (with the damper open). If you see more than 1/8 inch of dark accumulation, consider a mid-season sweep.
- Once your burning is done for the season, schedule a post-season sweep if you burned heavily. This prevents acidic creosote from sitting in your flue through the summer, where it corrodes liner surfaces and smells on humid days.
- Do your full crown, flashing, firebox, and damper inspection now, before summer heat begins. You’ll catch any winter damage and have months to schedule repairs before the next season.
- This is the time to schedule repair work. Crews are less booked, and scheduling is more flexible. It’s also the season when we do most of our liner work, because the mortar and refractory materials cure faster in summer temperatures.
- Use the summer to address any flashing or crown repairs identified in your spring inspection. This is also the best time to have your dryer vent cleaned, since lint fires do not take the summer off.
- Date of each inspection and what you found. Photograph anything you are tracking, even with your phone. Photos with timestamps are legitimate evidence.
- Date and findings from every professional sweep. The sweep should give you a written report. Keep it. If the sweep doesn’t give you a report, ask for one. A verbal summary is not documentation.
- Any repair work performed, including brand and product names. If a liner is installed, you want to know the manufacturer and model. If a cap is replaced, you want the brand. Famco, Olympia Chimney, Copperfield, and DuraFlex all have different warranty terms, and you need the documentation to support a warranty claim years later.
- Any water intrusion events or suspected problems, even if you haven’t scheduled a repair yet. Insurance adjusters look for evidence of ongoing maintenance and timely response. A documented inspection history is a strong signal that any damage is recent and event-driven, not long-term neglect.
- Binoculars: 8×42 is the sweet spot for checking crown, cap, and flashing from the ground. Borrow them if you don’t own them. This is the single most useful chimney inspection tool you can buy, and it’s under a hundred dollars.
- Bright LED flashlight: 500 lumens minimum. The light matters more than the size. Shine it at an angle across surfaces to reveal cracks.
- Camera or phone camera: For documentation. Take photos every time you inspect, from the same positions if possible, so you can compare.
- Wooden dowel or screwdriver handle: For tapping firebrick and testing for looseness. Do not use a metal tool for this. You’ll chip the brick.
- Work gloves: For any roof-adjacent inspection or debris removal.
- A notebook or a note in your phone: The log we talked about.
One thing worth saying plainly: we replace more caps and spark arrestors damaged by wind-driven tree branches than by any other single cause in Northridge. Branches from mature eucalyptus and pine trees in the older neighborhoods along Reseda Boulevard and Devonshire Street routinely knock caps loose during Santa Ana events. When we install a replacement, we typically recommend a Famco cap, which has a sturdier screen mount than the builder-grade galvanized caps that came standard on 1990s-era Northridge construction.
Flashing Check: Where Water Meets Roof
Flashing is the sheet metal that seals the joint where your chimney passes through the roof. It fails in predictable ways, and the failure sequence is almost always: sealant dries and cracks, wind lifts the metal edge, water gets behind the flashing, and rot begins in the roof decking out of sight.
In Northridge, UV exposure is the primary driver of flashing sealant failure. The polyurethane sealant used on most flashing installations has a service life of roughly five to seven years in our sun. After that, it dries, shrinks, and pulls away from the metal just enough for capillary action to draw water underneath.
Check your flashing from the ground with binoculars and inside your attic if accessible:
Flashing work is one of those jobs that looks simple until you’re on the roof realizing the underlying decking is soft. If you’re seeing interior staining or you simply don’t want to be on a ladder, a chimney repair in Northridge that includes a roof-level flashing inspection is the right first step. We will show you photos of what we find rather than just telling you it needs work.
Liner Assessment: Terra Cotta vs. Cast-in-Place vs. Stainless
The flue liner is the vertical passage inside your chimney that contains hot gases and protects the surrounding structure. In Northridge, three liner types dominate: original terra cotta clay tiles in homes built before the 1980s, cast-in-place refractory liners in some 1980s-2000s construction, and stainless steel liners installed either at original construction or as later retrofits.
Each fails differently, and each requires a different inspection approach.
Terra cotta clay tile: The failure mode is cracked tiles from thermal shock and ground movement. Northridge sits in a seismically active zone, and post-Northridge-Earthquake homes often show hairline cracks in the upper flue tiles even when the rest of the structure is fine. Cracked tiles expose the masonry behind them to direct flame and gases. If a tile spalls and the flue is compromised, you have a fire hazard, not a cosmetic issue. Camera inspection is the only way to know. The fix depends on extent: single-course damage can sometimes be repaired, while multi-course damage means relining.
Cast-in-place liners: These are poured refractory liners that, when done well, are excellent performers. Their failure mode is not cracking so much as surface erosion over time, particularly in the upper flue where condensation and corrosive creosote accumulate. The interior surface roughens and holds creosote more readily. Again, camera inspection reveals erosion that visual inspection cannot.
Stainless steel liners: DuraFlex is the brand we install when a full liner replacement or upgrade is indicated. Stainless liners fail primarily at the joints and at the cap connection, rather than through the wall of the liner itself. Creosote still accumulates, especially near the top, so regular sweeping is still required. The key check is that the liner terminates cleanly at the cap with no gap, and that no sections have separated at the seams. That is a professional camera inspection, not a DIY check.
One more thing worth knowing: if your terra cotta liner has limited cracking but the flue is still structurally sound, there may be a middle option between doing nothing and full replacement. HeatShield is a factory-certified flue liner restoration system that resurfaces the interior of a deteriorated flue to restore a smooth, continuous surface. It is not a relining product and not appropriate for every situation, but when the damage is surface erosion rather than structural displacement, it is a legitimate alternative that can avoid the cost and disruption of full relining. We include this in our inspection report only when the camera footage supports it. A full list of the professional-grade parts we stock, from brands like DuraFlex and Copperfield, is available through our chimney repair services page.
Firebox and Damper: What Wear Actually Looks Like
The firebox is the chamber where your fire burns. It is lined with firebrick and refractory mortar, both of which are consumable. The damper is the metal plate or valve above the firebox that regulates draft and, when closed, prevents conditioned air from escaping up the flue.
Firebox wear shows up in a predictable sequence: hairline cracks in the refractory mortar joints, then widening gaps, then crumbling mortar, then shifted or loose firebrick. The first two stages are normal. The second two are not.
How to check your firebox without calling anyone:
Damper hardware wear is subtler. The damper cable or lever mechanism, the frame, and the blade all take years of heat exposure. What to look for: a damper that no longer holds position when you set it (cable tension loss), visible warping on the damper blade (it should sit flat and seal), and rust-through at the frame where it meets the firebox throat. A damper that doesn’t seal when closed will cost you money in conditioned air loss during the summer, which in Northridge means your air conditioning runs harder from April through October.
Here is the critical safety distinction: firebox inspection is a visual job. Damper inspection is a visual job. Neither requires you to be inside the firebox. Do not attempt to climb inside the firebox or up into the chimney. The working space is tight, the surfaces are sooty, and the angle obscures what you are actually looking at. A camera inspection from a trained sweep sees more in five minutes than a homeowner sees in an hour with a flashlight, and it happens without anyone being inside the flue.
The Northridge Seasonal Schedule: When to Check What
The generic advice is “have your chimney swept once a year.” That is true but incomplete. In Northridge, the burning season is roughly November through March, the Santa Ana window is September through January, and the summer is the off-season for burning but the high season for UV damage and thermal expansion. A calendar-based checklist that aligns with our local conditions looks like this:
September (pre-Santa Ana, pre-burning season):
October (first fires):
November through January (burning season with Santa Ana wind):
February through April (end of burning season):
May through August (summer off-season):
The Documentation Habit: Your Insurance Paper Trail
There’s a habit professionals use after every service call that most homeowners skip: we document everything. We photograph the crown before and after work. We keep a written log of flue measurements, creosote buildup, liner condition, and any customer-level observations from the roof. This is not bureaucracy. It is the paper trail that makes future work faster and insurance claims cleaner.
You should do the same thing from the homeowner’s side, and it takes less than ten minutes per inspection.
Keep a simple chimney log with four things:
The reason this matters in Northridge specifically is twofold. First, we have earthquake risk, and a documented chimney inspection history helps distinguish pre-existing conditions from seismic damage after an event. Second, our hot dry summers mean that something that was a minor problem in March can be a structural problem by August. The log makes that progression visible.
Tools You Actually Need (None of Them Are Expensive)
A chimney inspection does not require scaffolding, specialized optics, or a trade license. What it does require is the right tools and the patience to use them. Here is everything you need for a thorough homeowner-level inspection in Northridge:
What you do not need: a ladder to get onto the roof, a camera scope, a drone, or any specialized equipment. In fact, we’d rather you not get on the roof at all. Roof-level chimney inspection in Northridge means dealing with barrel tile, steep pitches, and flat parcels that require a safety setup. Everything you need to check from the roof level is visible from the ground with binoculars except the flashing that is hidden under the roofline on the high side. That part requires a roof inspection, which is a professional job. If you want the full picture including the liner, the smoke chamber, and the hidden flashing, the right call is a professional camera inspection and a roof-level visual by someone who does this every day.
When we do a professional inspection on a Northridge home, the camera goes up the flue, the photos come back, and we walk through what we found with the homeowner. That’s the Chimney Sweep Northridge home standard, and it’s how we think this work should be done everywhere.
Common Mistakes to Avoid
- Assuming a cap is optional. In Northridge, an uncapped flue during Santa Ana season is an open invitation for debris, birds, and wind-driven rain. A missing cap is not a cosmetic issue. It is the single cheapest fix that prevents the most expensive problems.
- Using unseasoned wood from local suppliers. Wood sold as “seasoned” in late fall in the Valley is often still above 20% moisture content. Wet wood produces creosote. A moisture meter is twenty bucks, and it will tell you in seconds whether your wood is ready.
- Ignoring a slowly closing damper. A damper that has become harder to operate over time is a warning sign, not a quirk. Warped damper hardware will eventually fail in an open position, and you’ll pay for it in your summer cooling bill.
- Power-washing the chimney exterior. Northridge stucco chimneys are not built to handle high-pressure water. Power washing drives water into the stucco and behind the flashing. If your chimney looks dirty, that is generally a low-pressure cleaning or a repaint, not a power-washing job.
- Scheduling your annual sweep the week before Thanksgiving. October and November are the busiest months for chimney work in Northridge, and slots fill weeks in advance. Schedule in September and you’ll have your pick of times.
- Treating the chimney and dryer vent as separate systems. They are separate physically, but they are both part of your home’s fire-safety envelope. A home with a clean chimney and a packed dryer vent still has a significant fire risk. We clean both, and we check both in the same visit.
See the difference
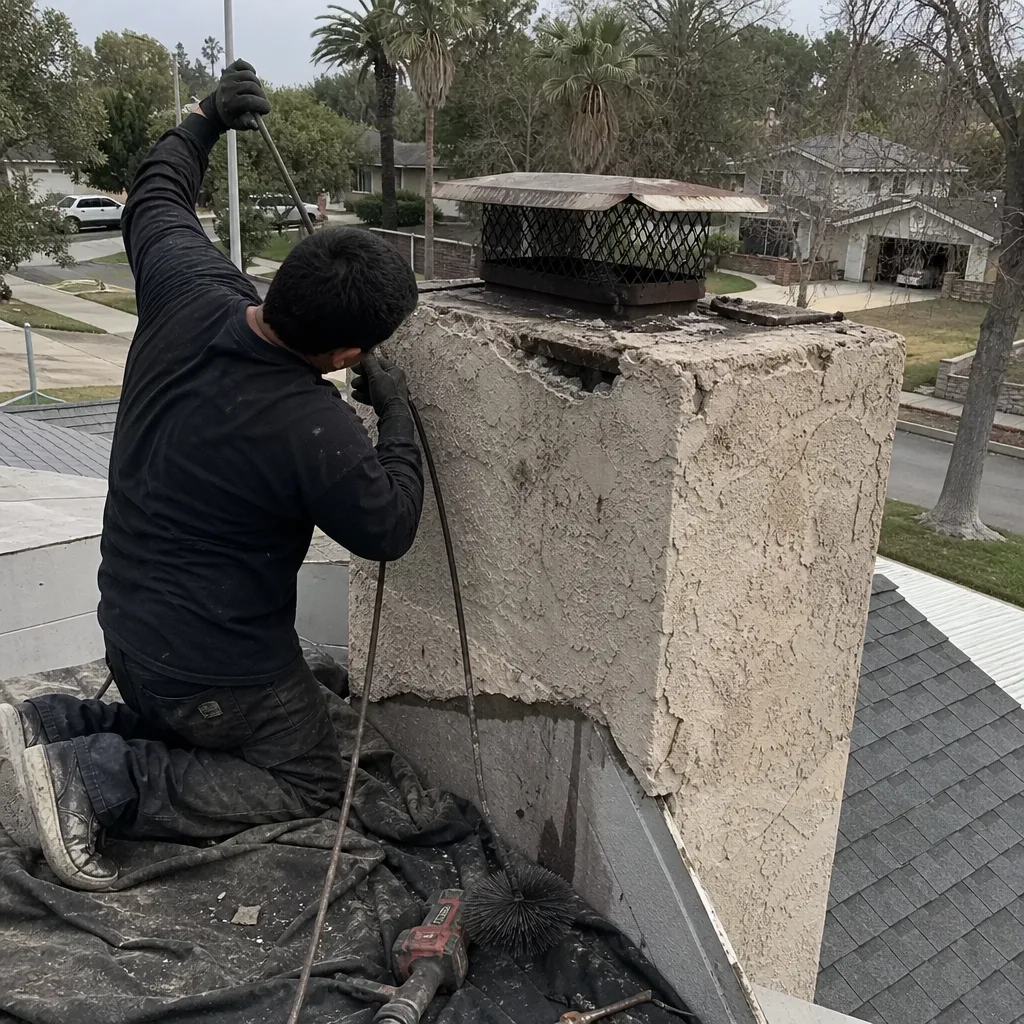 Before
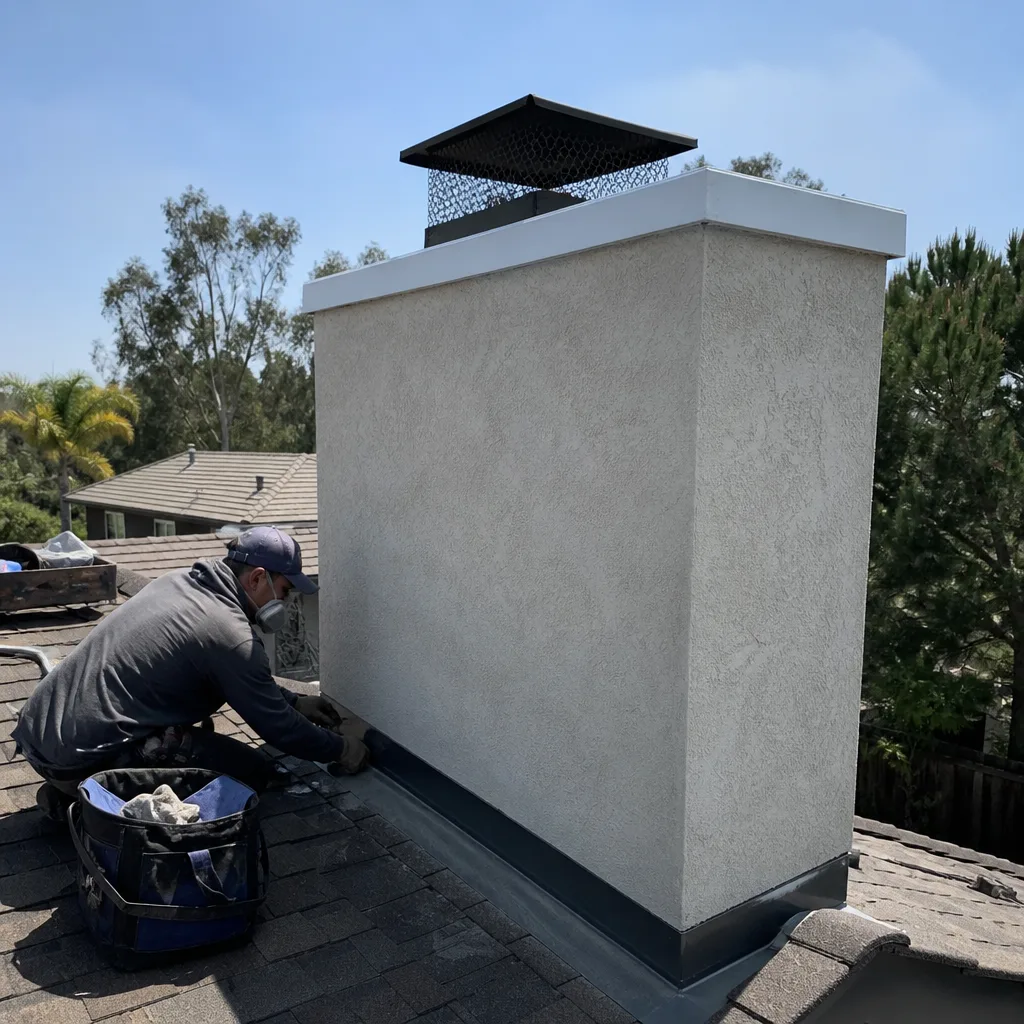 After
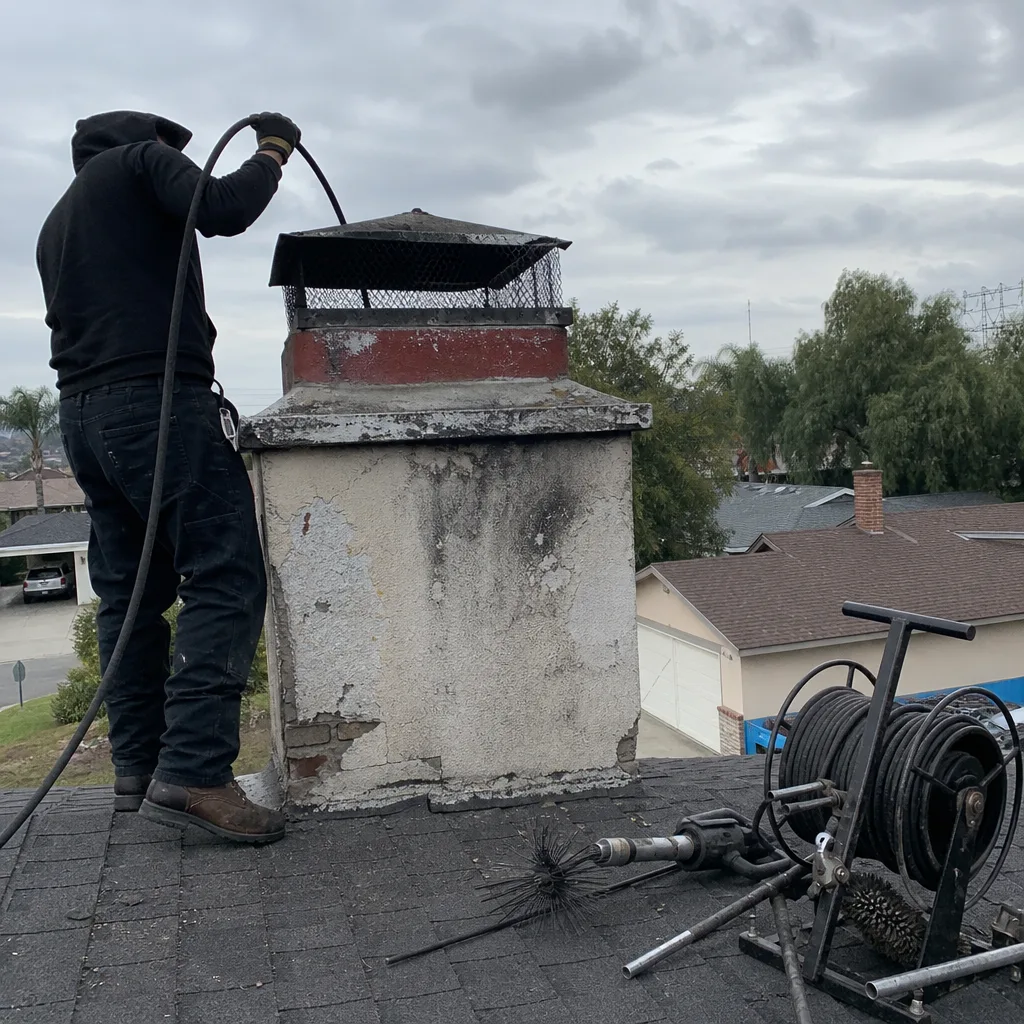 Before
 After
 Before
 After
When to Call a Professional
Call a professional when: you see active spalling on the crown, rust streaks on the chase top, water staining in the attic around the chimney, a damper that will not hold position, loose or shifted firebrick, visible creosote buildup of more than 1/8 inch, or any cap damage from Santa Ana winds. Also call if you smell smoke in the house after a fire has been burning for more than a minute, or if you have never had a camera inspection of your liner and you own a home built before 1980. Any one of these is a reason to schedule an inspection. None of them are DIY fixes. Chimney Sweep Northridge offers free estimates in Northridge, and for any of these situations, an estimate is the right first step. Call (833) 589-9223.
Frequently Asked Questions
A wood-burning chimney in Northridge should be swept once per year if you burn more than twice per week during the season, and every two years at minimum if you burn less. Gas fireplaces need less frequent sweeping, but we still recommend an annual visual inspection and a sweep when needed. The Northridge schedule above gives you the specific seasonal timing. Call (833) 589-9223 to schedule an estimate for your chimney.
A standard chimney sweep in Northridge typically runs between $180 and $350 depending on the type of fireplace and the level of creosote buildup. Homes with heavy buildup or unusual flue configurations fall at the higher end. The exact price depends on what we find during inspection, and we’ll give you the number before any work begins. Call (833) 589-9223 for a specific quote on your chimney.
A full chimney inspection covers the crown, cap, flashing, liner, smoke chamber, firebox, and damper using a camera system that sees what a flashlight cannot. We document everything with photos and walk you through what we find. If repair work is indicated, we explain the options, including whether HeatShield restoration is appropriate in place of full relining. Call (833) 589-9223 to schedule an inspection and estimate.
Maybe you need a new liner, maybe you do not. The camera footage tells the story. We show you the video and point to the specific cracks, gaps, or spalled sections that are driving the recommendation. In some cases, HeatShield resurfacing is a viable alternative to a full liner replacement, and we only recommend it when the footage supports it. No one at Chimney Sweep Northridge will tell you to replace a liner without showing you why. Call (833) 589-9223 for an inspection and you’ll see the evidence yourself.
Yes, and there’s a good reason to do both together. A chimney sweep and a dryer vent cleaning are two parts of the same fire-safety picture, and doing them together means one visit and one trip charge. The dryer vent is often the more urgent hazard, since lint is a leading cause of residential fires and most homeowners have no idea how much has accumulated. We offer dryer vent cleaning in Northridge as a standalone service or alongside your chimney work. Call (833) 589-9223 to book both.
Skipping a year is not automatically dangerous, but the risk compounds quietly. Creosote from each burning season accumulates onto whatever is already there, and a flue that was clean last year can be unsafe the next depending on how much you burned. Water intrusion that starts in October will have a full winter and summer to work its way through the structure. The documented maintenance history also matters for insurance. The safest call is a quick inspection. Call (833) 589-9223 for a free estimate.
The Bottom Line
A chimney maintenance checklist only works when it maps to your specific chimney. In Northridge, that means knowing your crown material, your liner type, and your cap condition, and understanding how Santa Ana winds, summer thermal cycling, and seismic movement affect each. Check the crown, cap, flashing, firebox, and damper twice a year. Sweep before burning season. Document everything. And know the difference between a cosmetic crack and active spalling. If you do those things, most expensive chimney repairs in Northridge are predictable years before they become urgent. If you’re not sure what you’re looking at, call (833) 589-9223 for a camera inspection and we’ll show you exactly what the inside of your chimney looks like.
Written by the team at Chimney Sweep Northridge, serving Northridge since 2012.